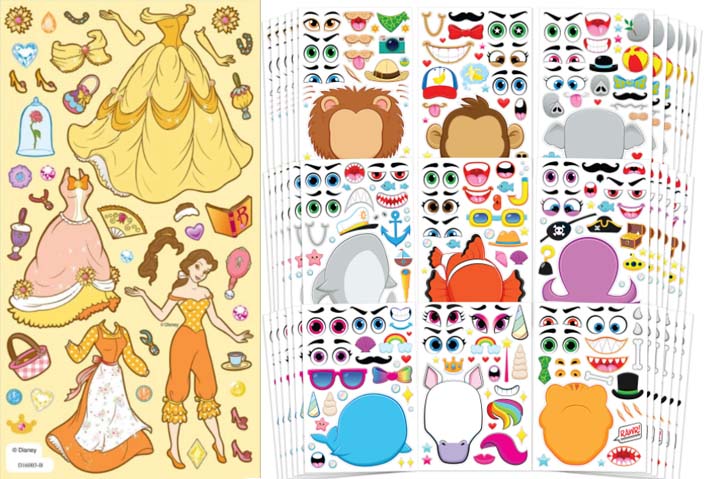
Remember this kind of game?
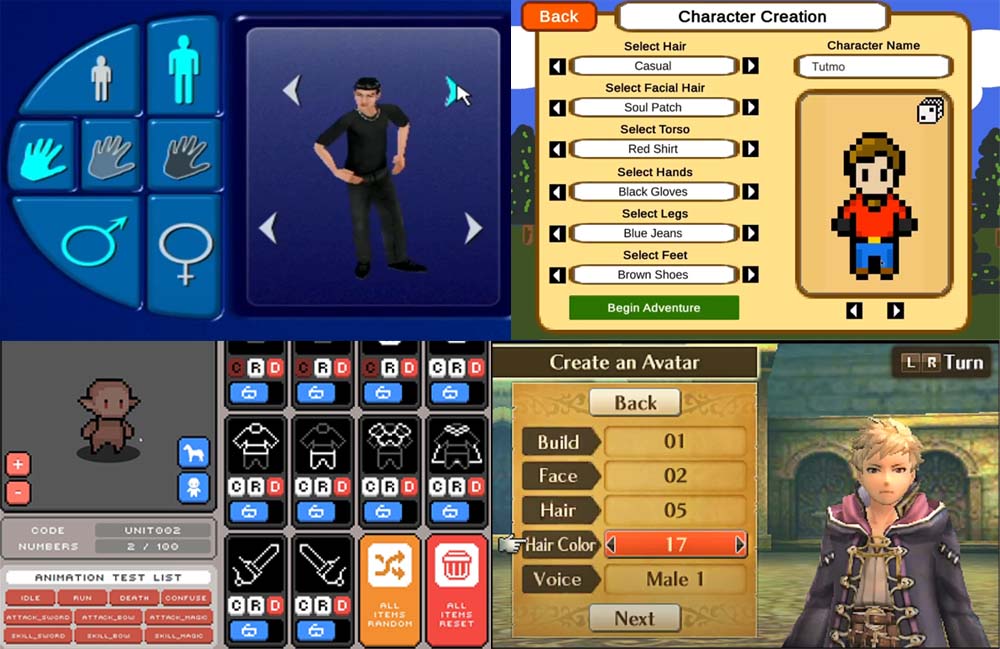
Or video games where you can choose your character's hair, eye color, and clothing?
The way these games (or game features) work is that you have a base model and you stack things on top of it to decorate/create something new. For example, with a base model of a person, if you put on a different type of hair, a different eye shape/color, different clothes, etc. you could create an entirely new character based on the combination you choose.
In this project, you will create a game similar to that.
Demo
Character Customization/Creation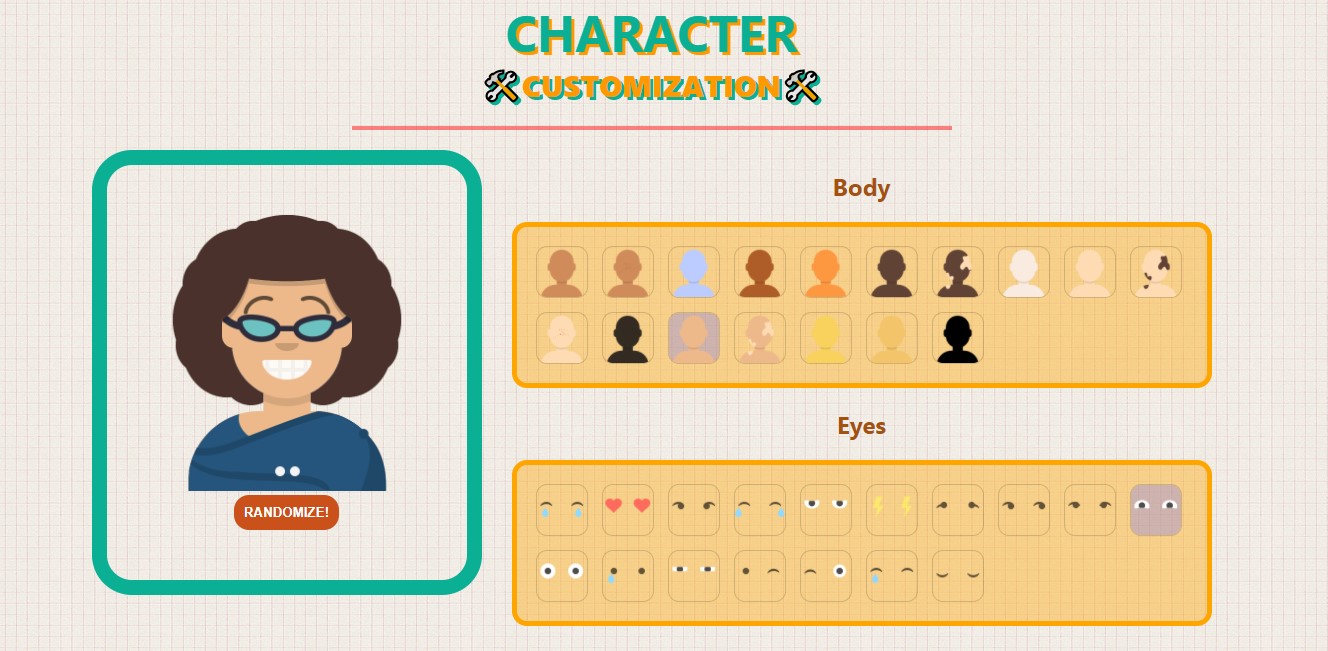
What you'll learn
- Managing states and prop drilling (passing props)
- Dynamic styles with template literals
- Managing layers with
z-index
Assets
Download these images:
User Story
- User sees a pre-selected avatar.
- User sees lists of parts for body, clothing (3 layers), eyebrows, eyes, hair, and mouths. Note: Nose is pre-set as there is only one variation.
- User can select a different part and the avatar will reflect the change when the user clicks on a different item.
- App MUST be responsive.
Optional Feature
- User can choose hats and glasses as well.
- User can click a
RANDOMIZEbutton to generate a new character with random features. - Style the webpage to your heart's content!
Working with layers
The avatar that we are going to make consists of several different layers:

We know that the element in the layer above will cover the element in the layer below. For example, your glasses layer should be on top of your body layer, otherwise the body would cover the glasses and you wouldn't see the glasses.
Here's a general idea of which layer should be on top of which.

You don't have to follow this reference. Use your own judgement to decide which layer to use and sometimes you can put several things on the same layer too!
On a web page, you can use the CSS property z-index (default 0) to represent the layer index. Note that you can only use this property with a positioned element (absolute, relative, fixed, sticky) or a flex child. The higher the number, the higher the layer. For example, an element with a z-index of 2 will sit on top of everything with a z-index of 1 or less.
Structure
Images
As you will work with a lot of images, let's put the image folder in /public so you can access the images dynamically based on our src url. images/body/1.png will give varation #1 for the body, and images/body/2.png will give varation #2.
As all the file names have conveniently been named with their index numbers already, you can dynamically link to the image you want with its associated index number (within a folder). This will be important later.
Components
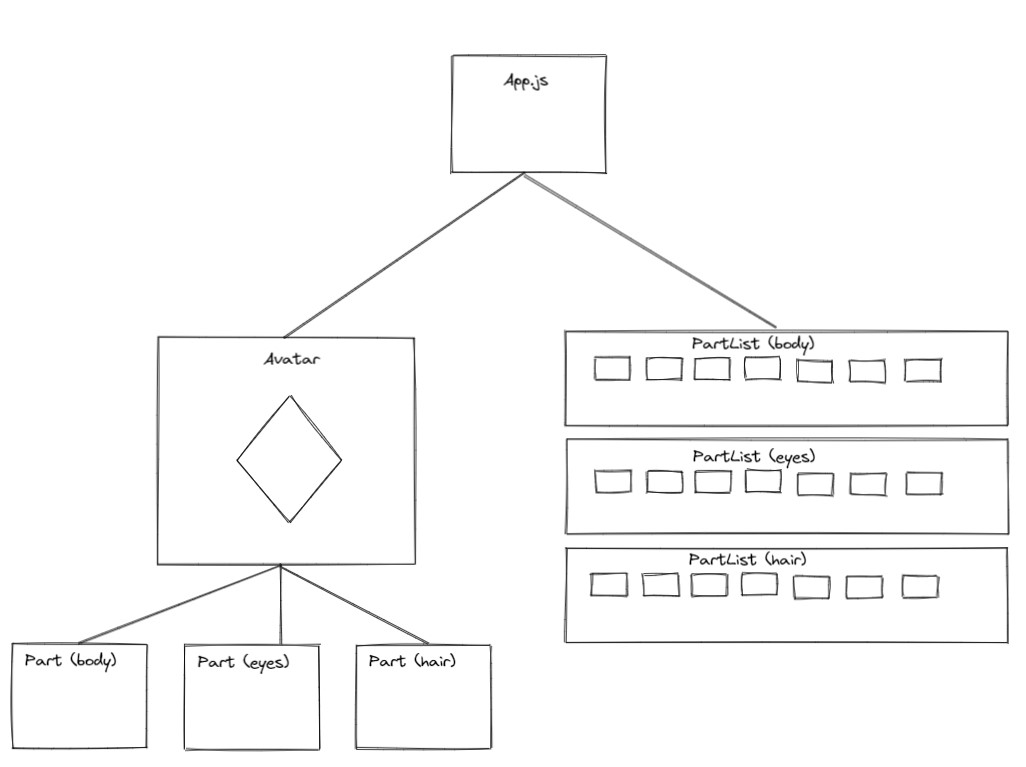
You can use this as a reference.
For the PartList, you will need to know the total number of the items in the list before you can map out all the selectable items of that list.
You can use this constant and pass the total number to each of the list.
const total = {
	body: 17,
	eyes: 17,
	hair: 73,
	mouth: 24,
	eyebrows: 15,
	hat: 28,
	glasses: 17,
	clothing1: 5,
	clothing2: 5,
	clothing3: 9,
};
At this far in the course, you have gained enough knowledge to do research and work independently. This is an important skill that a developer must have in the programming world.
You may notice that there is no step-by-step instruction anymore, and that is intentional. From some simple requirements of an app, or some explanations of an idea, you should be able to picture the general steps to build that app.
This is a chance for you to practice and see how far you've come. Good luck!