OAuth is an open-standard authorization protocol or framework that provides applications the ability for "secure designated access." For example, you can tell Facebook that it's OK for ESPN.com to access your profile or post updates to your timeline without having to give ESPN your Facebook password. This minimizes risk in a major way: In the event ESPN suffers a breach, your Facebook password remains safe.
OAuth doesn't share password data but instead uses authorization tokens to prove an identity between consumers and service providers. OAuth is an authentication protocol that allows you to approve one application interacting with another on your behalf without giving away your password.
Use cases
The simplest example of OAuth in action is one website saying "hey, do you want to log into our website with other website's login?" In this scenario, the only thing the first website – let's refer to that website as the consumer – wants to know is that the user is the same user on both websites and has logged in successfully to the service provider – which is the site the user initially logged into, not the consumer.
Facebook apps are a good OAuth use case example. Say you're using an app on Facebook, and it asks you to share your profile and pictures. Facebook is, in this case, the service provider: it has your login data and your pictures. The app is the consumer, and as the user, you want to use the app to do something with your pictures. You specifically gave this app access to your pictures, which OAuth is managing in the background.
Your smart home devices – toaster, thermostat, security system, etc. – probably use some kind of login data to sync with each other and allow you to administer them from a browser or client device. These devices use what OAuth calls confidential authorization. That means they hold onto the secret key information, so you don't have to log in over and over again.
Explaination
OAuth is about authorization and not authentication. Authorization is asking for permission to do stuff. Authentication is about proving you are the correct person because you know things. OAuth doesn't pass authentication data between consumers and service providers – but instead acts as an authorization token of sorts.
The common analogy I've seen used while researching OAuth is the valet key to your car. The valet key allows the valet to start and move the car but doesn't give them access to the trunk or the glove box.
How OAuth Works
There are 3 main players in an OAuth transaction: the user, the consumer, and the service provider. This triumvirate has been affectionately deemed the OAuth Love Triangle.
In our example, Joe is the user, Bitly is the consumer, and Twitter is the service provided who controls Joe's secure resource (his Twitter stream). Joe would like Bitly to be able to post shortened links to his stream. Here's how it works:
- Step 1 – The User Shows Intent
Joe (User): "Hey, Bitly, I would like you to be able to post links directly to my Twitter stream." Bitly (Consumer): "Great! Let me go ask for permission."
- Step 2 – The Consumer Gets Permission
Bitly: "I have a user that would like me to post to his stream. Can I have a request token?" Twitter (Service Provider): "Sure. Here's a token and a secret." The secret is used to prevent request forgery. The consumer uses the secret to sign each request so that the service provider can verify it is actually coming from the consumer application.
- Step 3 – The User Is Redirected to the Service Provider
Bitly: "OK, Joe. I'm sending you over to Twitter so you can approve. Take this token with you." Joe: "OK!"
Bitly directs Joe to Twitter for authorization
This is the scary part. If Bitly were super-shady Evil Co. it could pop up a window that looked like Twitter but was really phishing for your username and password. Always be sure to verify that the URL you're directed to is actually the service provider (Twitter, in this case).
- Step 4 – The User Gives Permission
Joe: "Twitter, I'd like to authorize this request token that Bitly gave me." Twitter: "OK, just to be sure, you want to authorize Bitly to do X, Y, and Z with your Twitter account?" Joe: "Yes!" Twitter: "OK, you can go back to Bitly and tell them they have permission to use their request token." Twitter marks the request token as "good-to-go," so when the consumer requests access, it will be accepted (so long as it's signed using their shared secret).
- Step 5 – The Consumer Obtains an Access Token
Bitly: "Twitter, can I exchange this request token for an access token?" Twitter: "Sure. Here's your access token and secret."
- Step 6 – The Consumer Accesses the Protected Resource
Bitly: "I'd like to post this link to Joe's stream. Here's my access token!" Twitter: "Done!" In our scenario, Joe never had to share his Twitter credentials with Bitly. He simply delegated access using OAuth in a secure manner. At any time, Joe can login to Twitter and review the access he has granted and revoke tokens for specific applications without affecting others. OAuth also allows for granular permission levels. You can give Bitly the right to post to your Twitter account, but restrict LinkedIn to read-only access.
OAuth 1.0 vs. OAuth 2.0
OAuth 2.0 is a complete redesign from OAuth 1.0, and the two are not compatible. If you create a new application today, use OAuth 2.0. This course only applies to OAuth 2.0, since OAuth 1.0 is deprecated.
OAuth 2.0 is faster and easier to implement. OAuth 1.0 used complicated cryptographic requirements, only supported three flows, and did not scale.
OAuth 2.0, on the other hand, has six flows for different types of applications and requirements, and enables signed secrets over HTTPS. OAuth tokens no longer need to be encrypted on the endpoints in 2.0 since they are encrypted in transit.
Passport is Express-compatible authentication middleware for Node.js.
Passport's sole purpose is to authenticate requests, which it does through an extensible set of plugins known as strategies. Passport does not mount routes or assume any particular database schema, which maximizes flexibility and allows application-level decisions to be made by the developer. The API is simple: you provide Passport a request to authenticate, and Passport provides hooks for controlling what occurs when authentication succeeds or fails.
Strategies
Passport uses the concept of strategies to authenticate requests. Strategies can range from verifying username and password credentials, delegated authentication using OAuth (for example, via Facebook or Twitter), or federated authentication using OpenID.
Before authenticating requests, the strategy (or strategies) used by an application must be configured.
npm install passport-local
const LocalStrategy = require("passport-local").Strategy;

passport.use(
  new LocalStrategy(
    {
      usernameField: "email",
      passwordField: "password",
    },
    async function (email, password, done) {
      try {
        const user = await User.findOne({ email });
        if (!user) return done(null, false);
        if (!user.verifyPassword(password)) {
          return done(null, false, { message: "Incorrect password" });
        }
        return done(null, user);
      } catch (err) {
        return done(err);
      }
    }
  )
);
There are 480+ strategies. Find the ones you want at: passportjs.org Passport has a comprehensive set of over 480 authentication strategies covering social networking, enterprise integration, API services, and more.
Sessions
Passport will maintain persistent login sessions. In order for persistent sessions to work, the authenticated user must be serialized to the session, and deserialized when subsequent requests are made.
Passport does not impose any restrictions on how your user records are stored. Instead, you provide functions to Passport which implements the necessary serialization and deserialization logic. In a typical application, this will be as simple as serializing the user ID, and finding the user by ID when deserializing.
passport.serializeUser(function (user, done) {
  done(null, user.id);
});

passport.deserializeUser(function (id, done) {
  User.findById(id, function (err, user) {
    done(err, user);
  });
});
Middleware
To use Passport in an Express or Connect-based application, configure it with the required passport.initialize() middleware. If your application uses persistent login sessions (recommended, but not required), passport.session() middleware must also be used.
var app = express();
app.use(require("serve-static")(__dirname + "/../../public"));
app.use(require("cookie-parser")());
app.use(require("body-parser").urlencoded({ extended: true }));
app.use(
  require("express-session")({
    secret: "keyboard cat",
    resave: true,
    saveUninitialized: true,
  })
);
app.use(passport.initialize());
app.use(passport.session());
// Authenticate Requests
// Passport provides an authenticate() function, which is used as route middleware to authenticate requests.

app.post(
  "/login",
  passport.authenticate("local", { failureRedirect: "/login" }),
  function (req, res) {
    res.redirect("/");
  }
);
npm i passport
const passport = require("passport");
HTTP is stateless; in order to associate a request to any other request, you need a way to store user data between HTTP requests. Cookies and URL parameters are both suitable ways to transport data between the client and the server. But they are both readable and on the client side. Sessions solve exactly this problem. You assign the client an ID and it makes all further requests using that ID. Information associated with the client is stored on the server linked to this ID.
We will need the Express-session, so install it using the following code.
npm i express-session
default store for storing sessions, i.e., MemoryStore. Never use this in production environments. The session middleware handles all things for us, i.e., creating the session, setting the session cookie and creating the session object in req object.
Whenever we make a request from the same client again, we will have their session information stored with us (given that the server was not restarted). We can add more properties to the session object. In the following example, we will create a view counter for a client.
const session = require("express-session");

///
app.use(
  session({
    secret: "secret",
    resave: true,
    saveUninitialized: true,
  })
);
app.use(passport.initialize());
app.use(passport.session());
Also, we could easily apply google login via passport
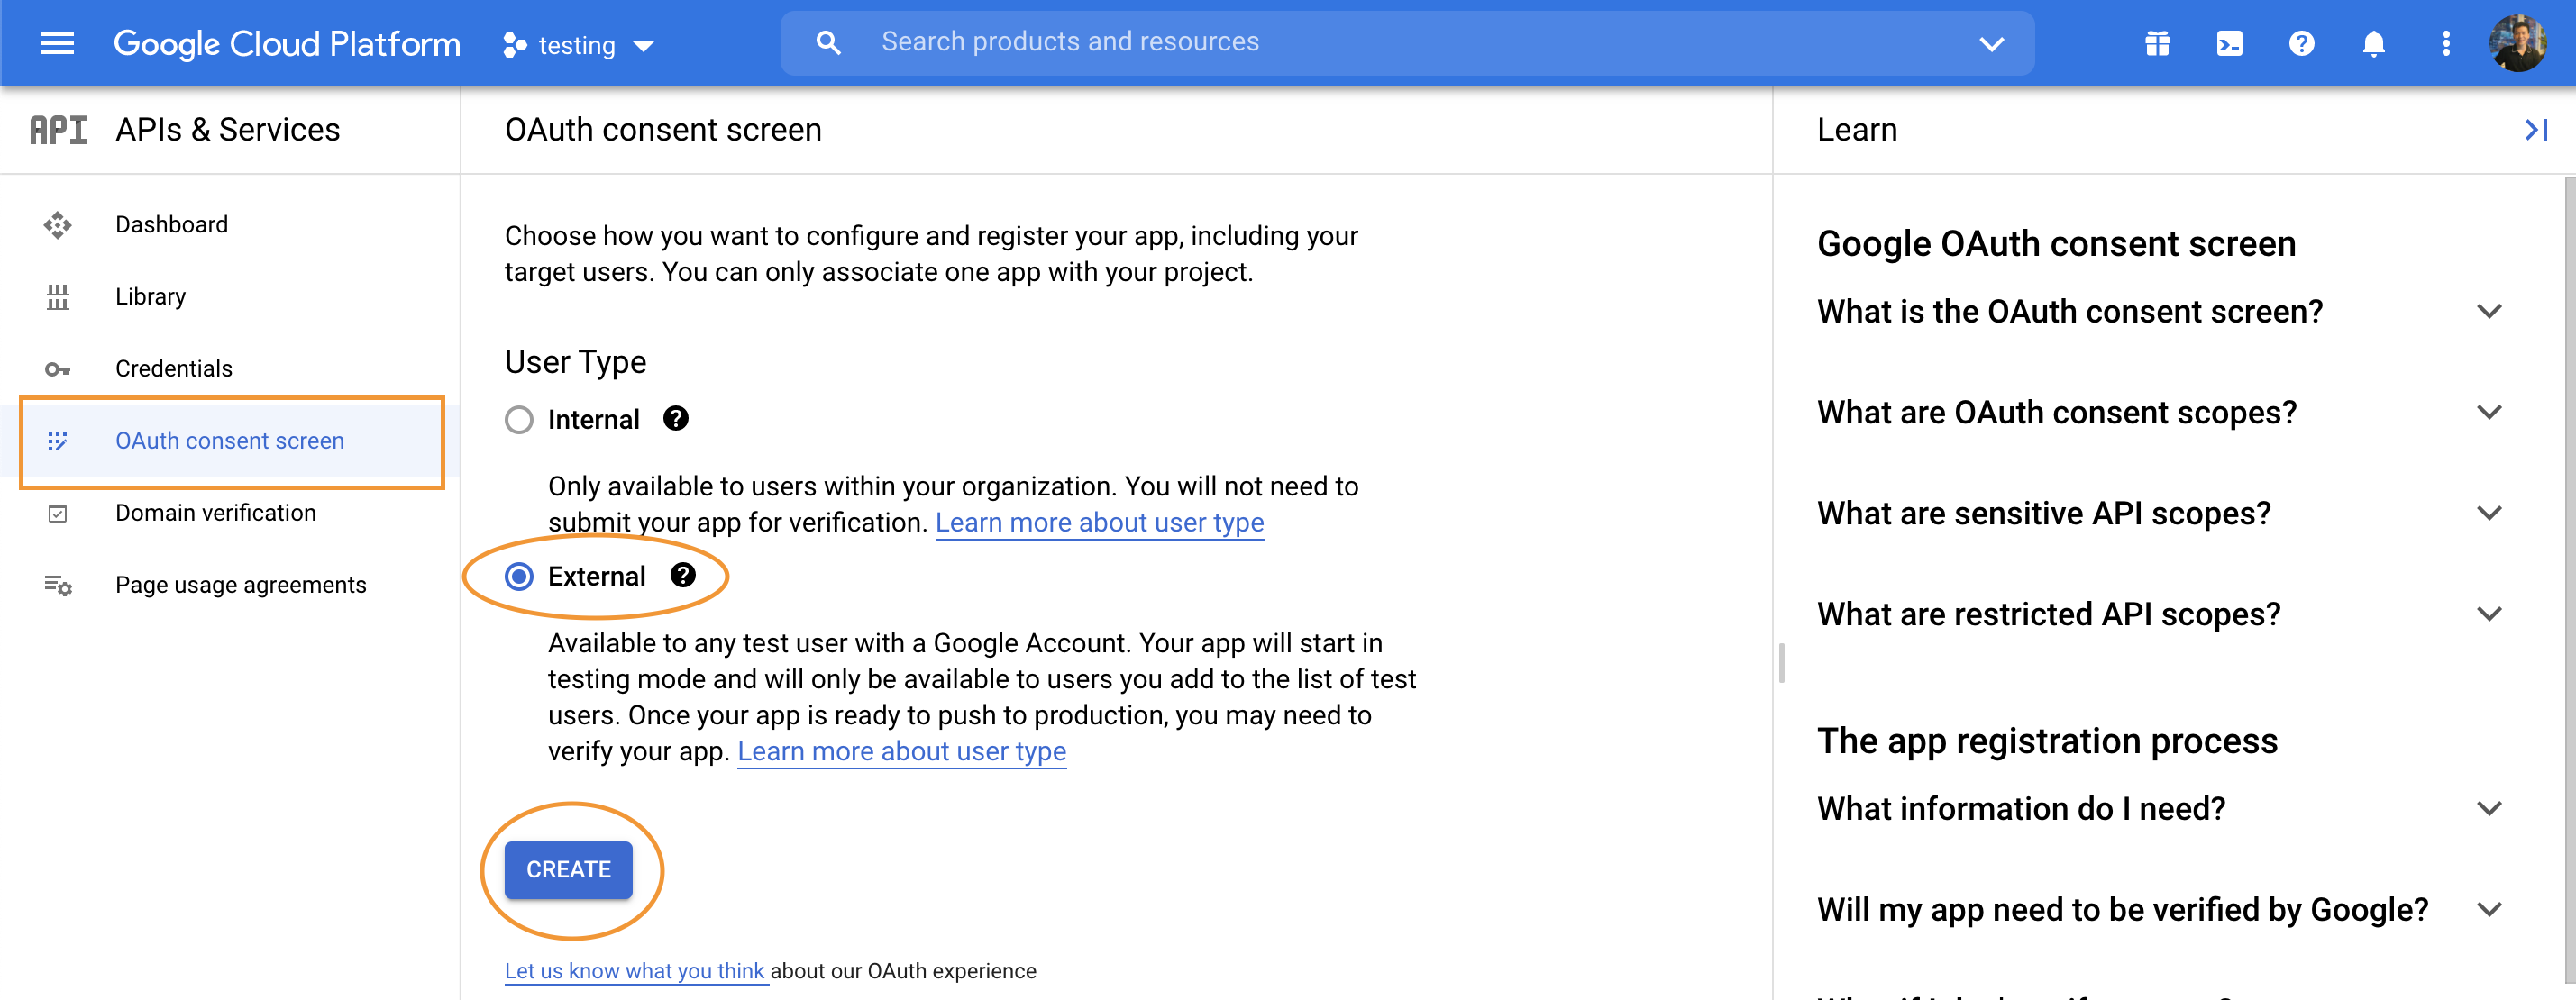
Create Google Developer account
https://console.cloud.google.com
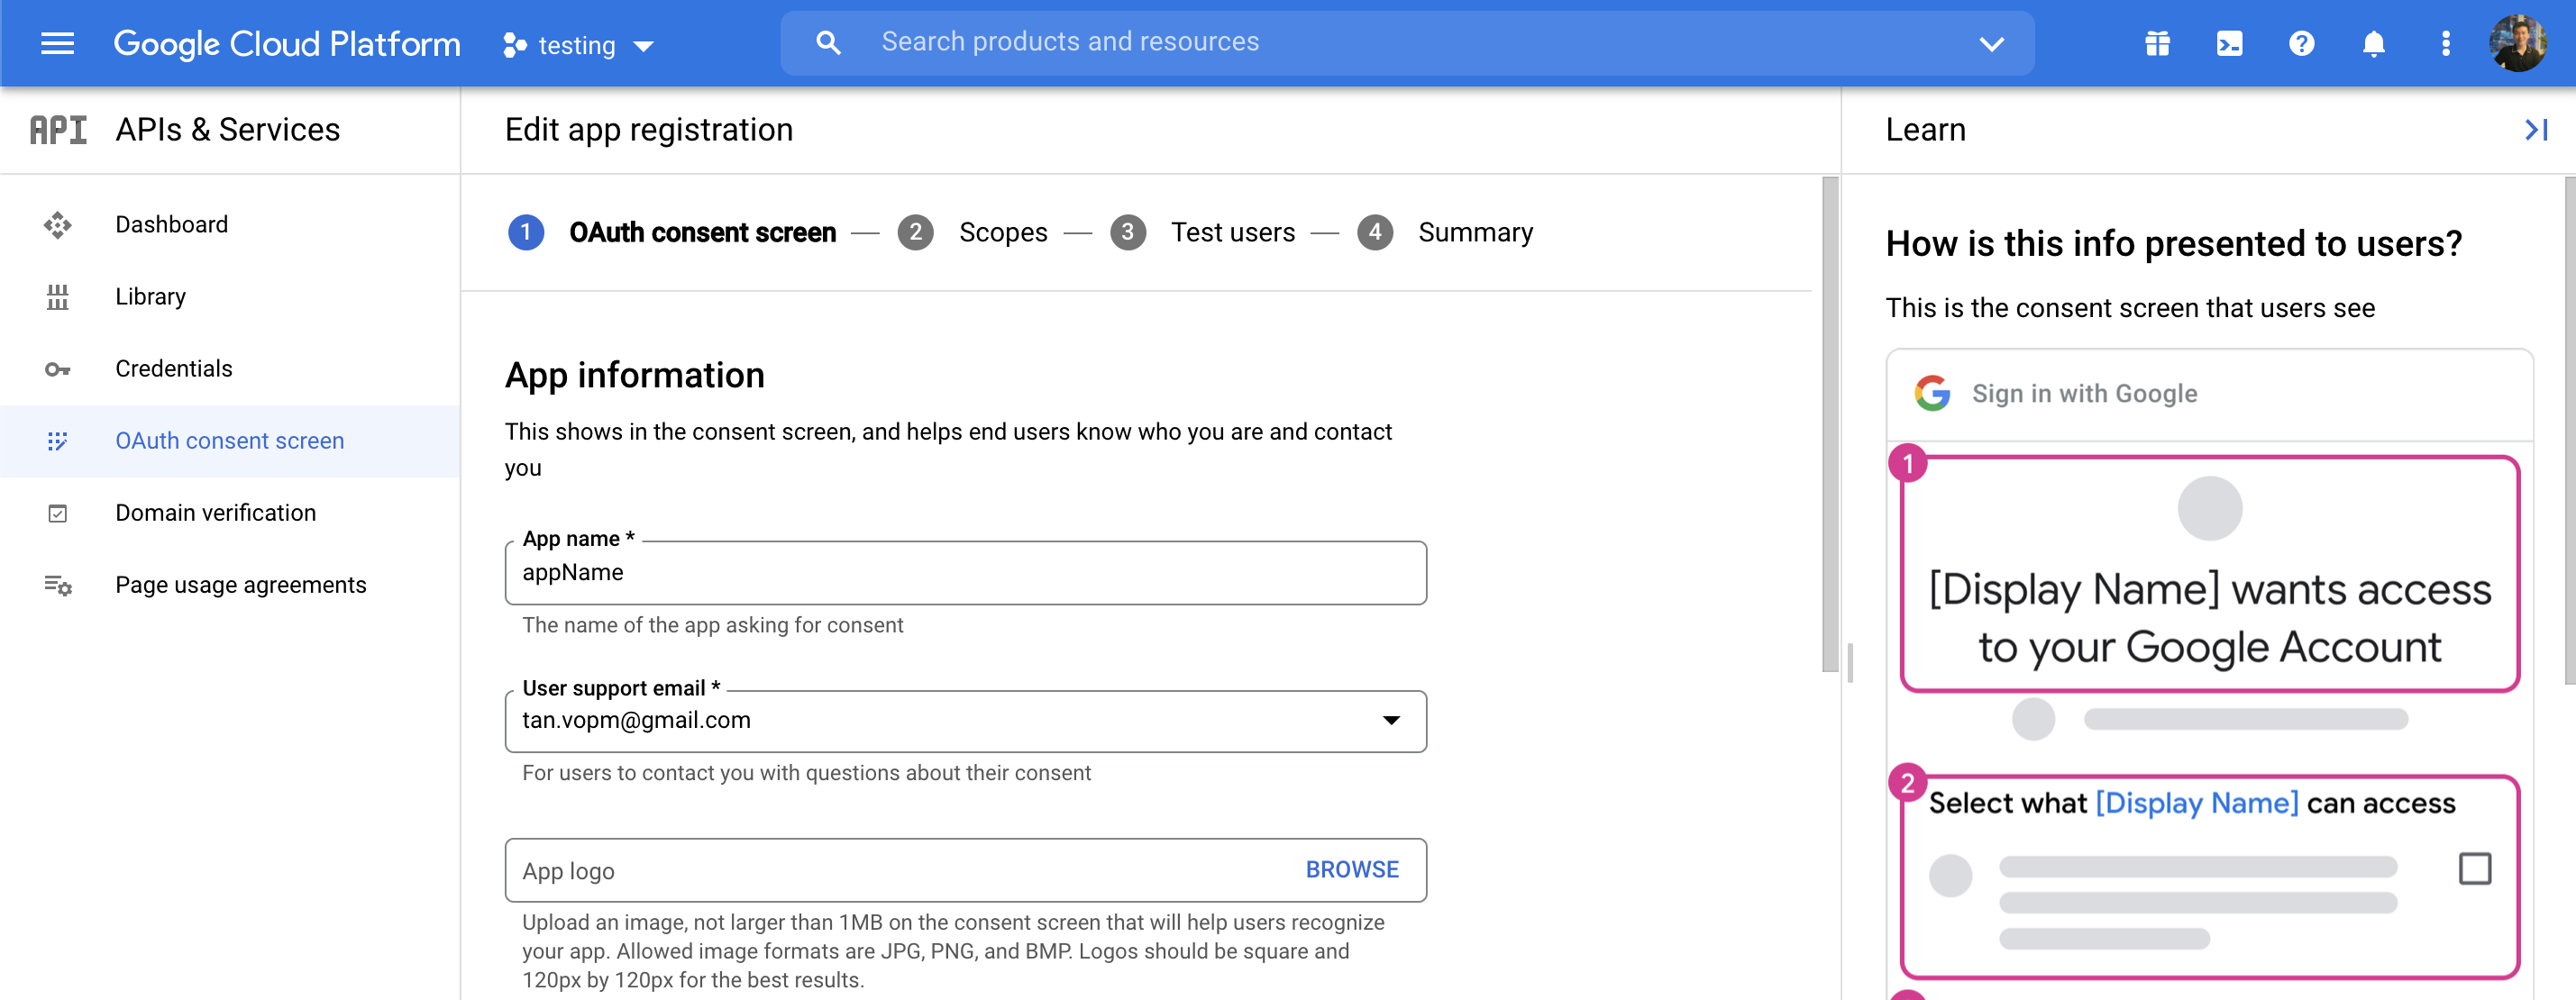
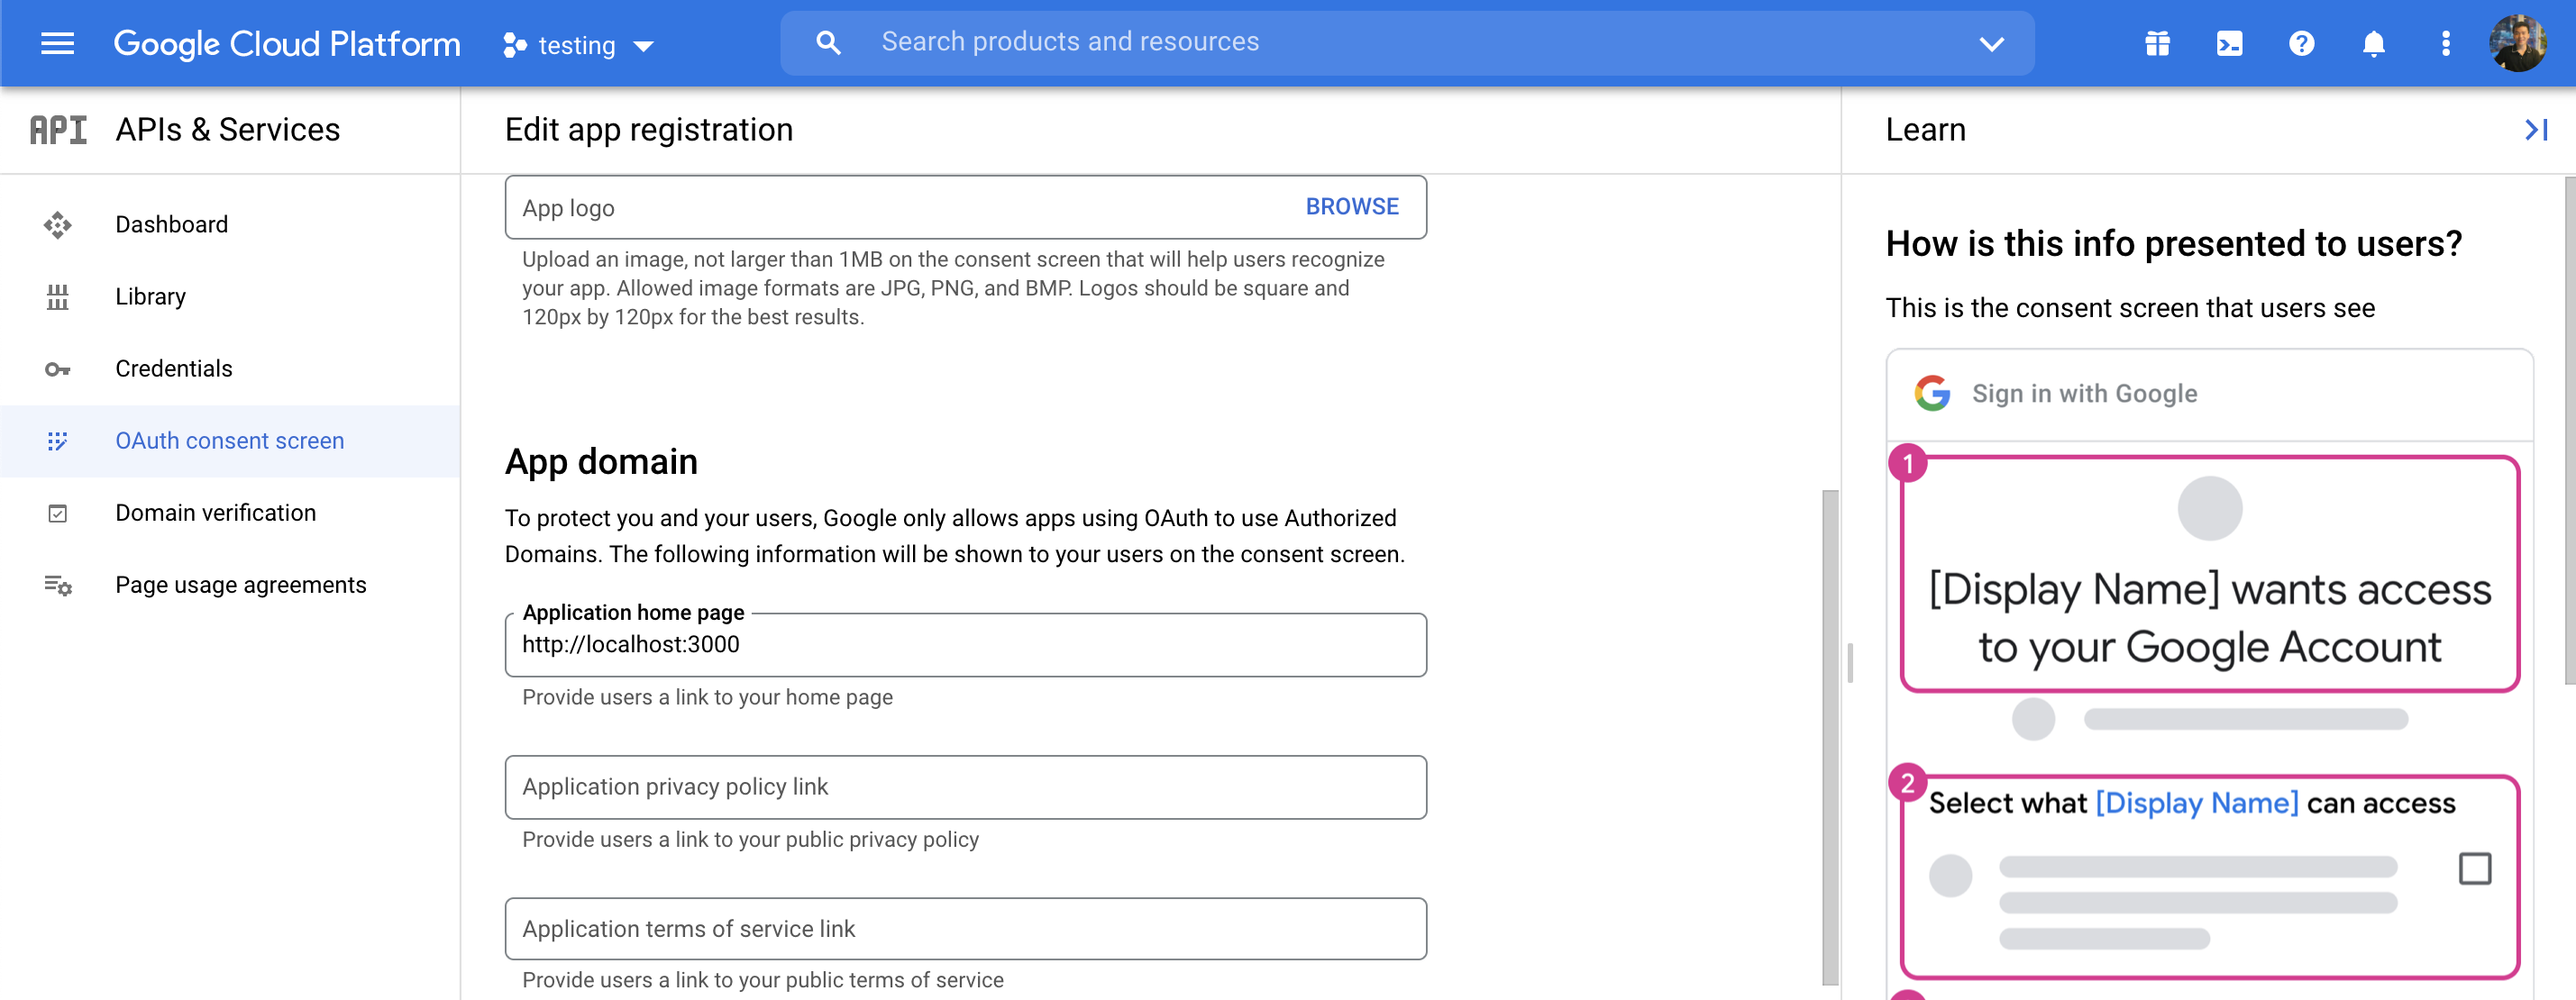
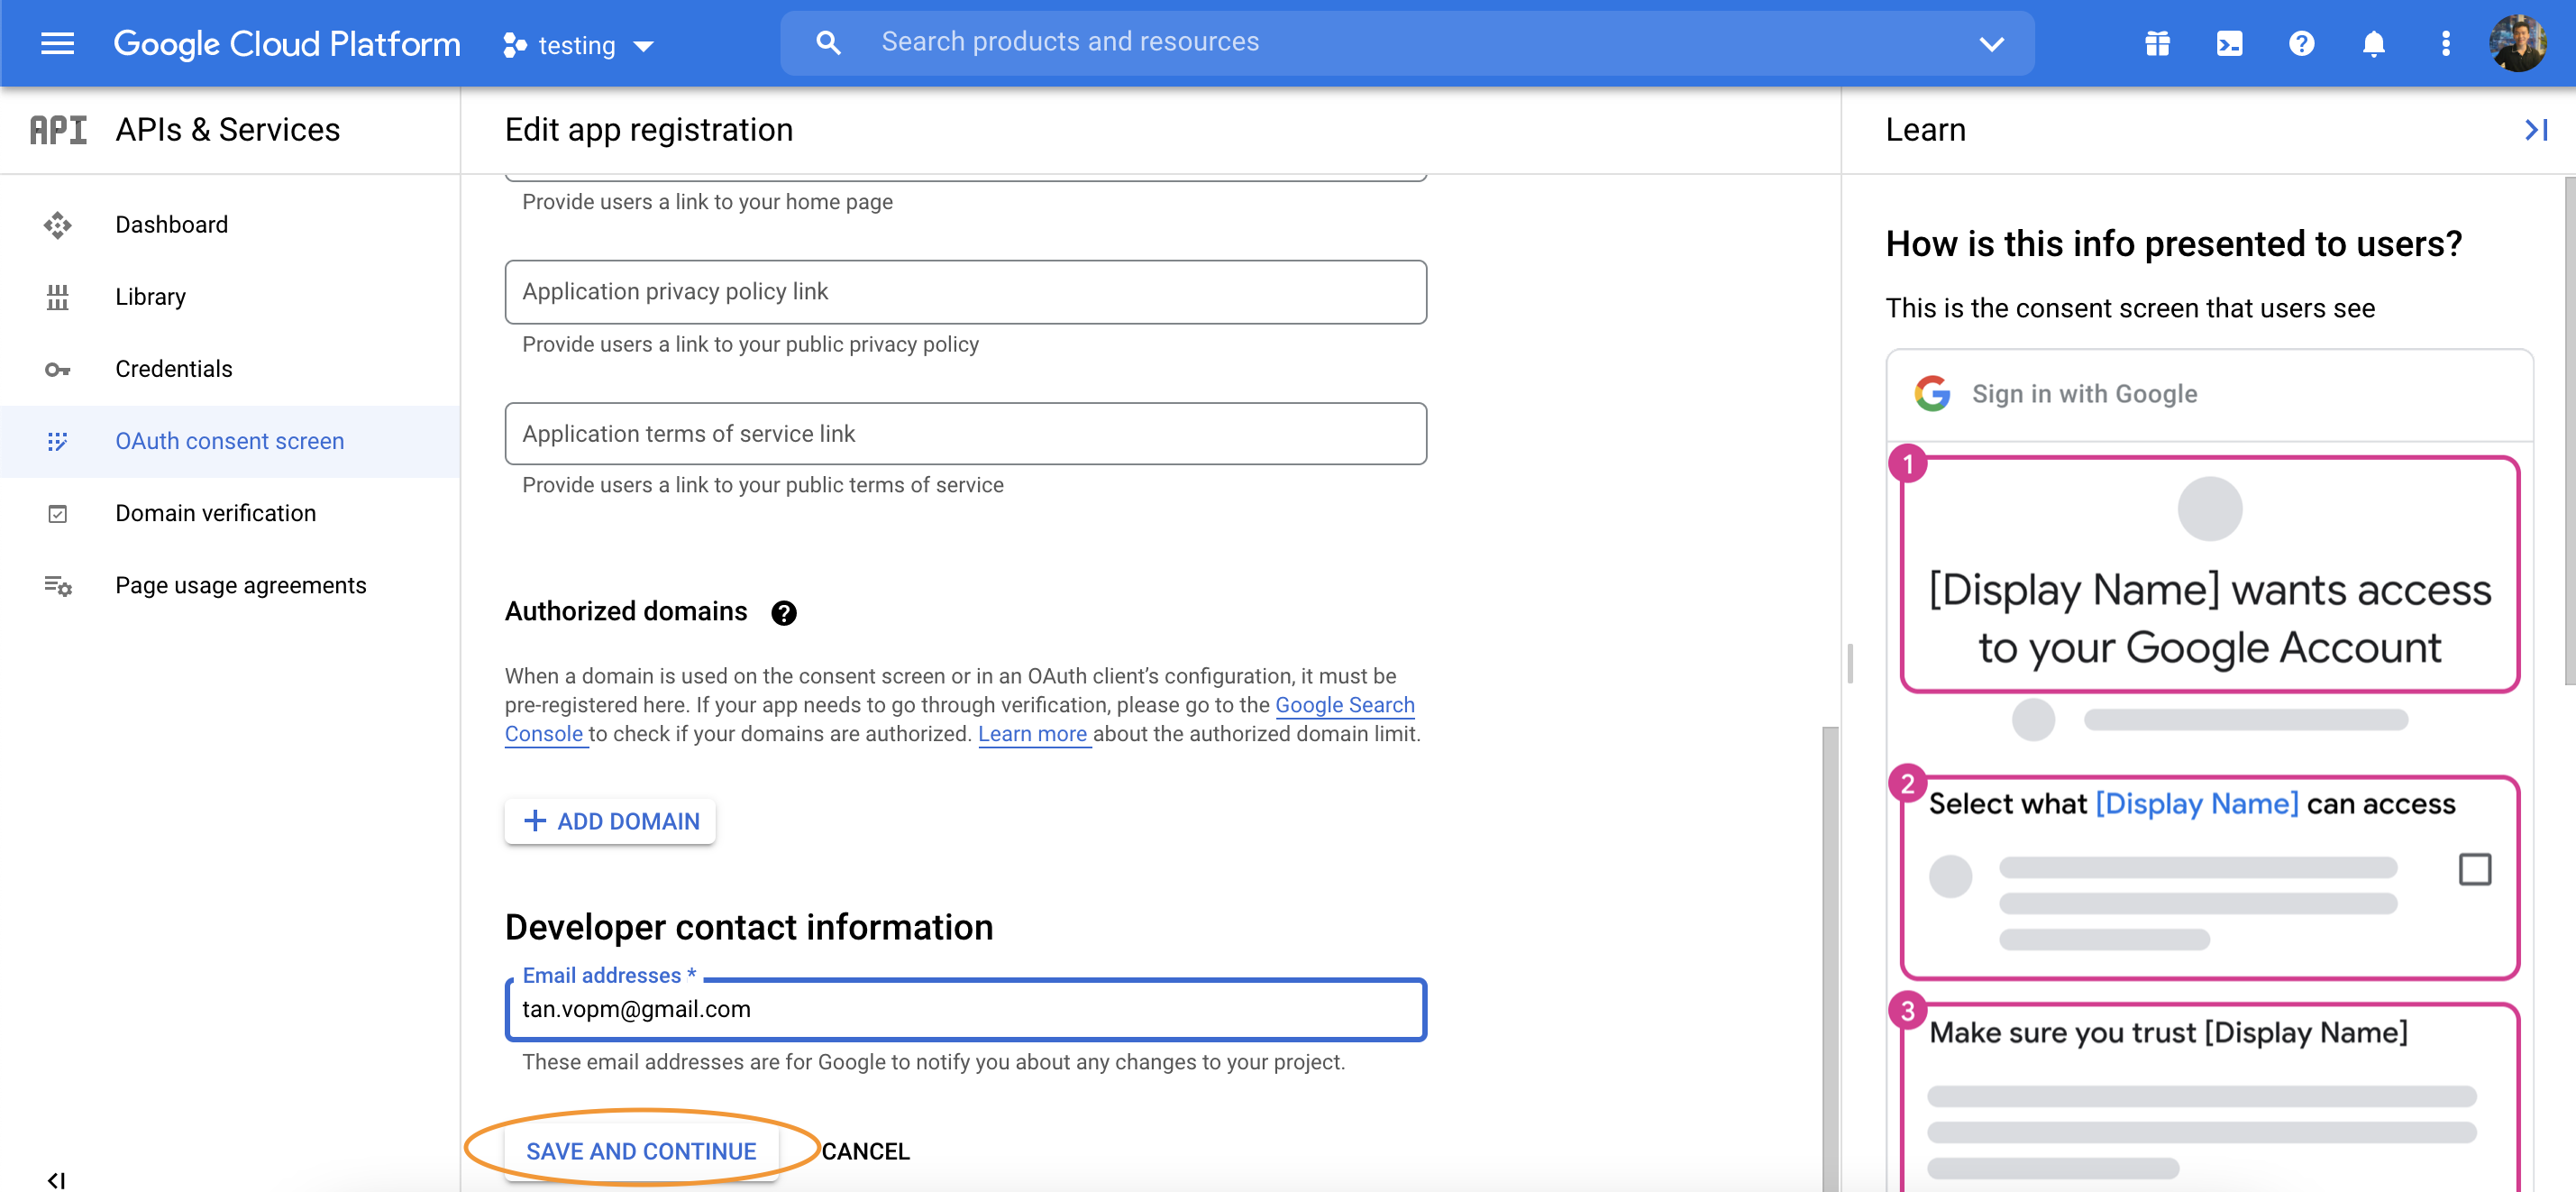
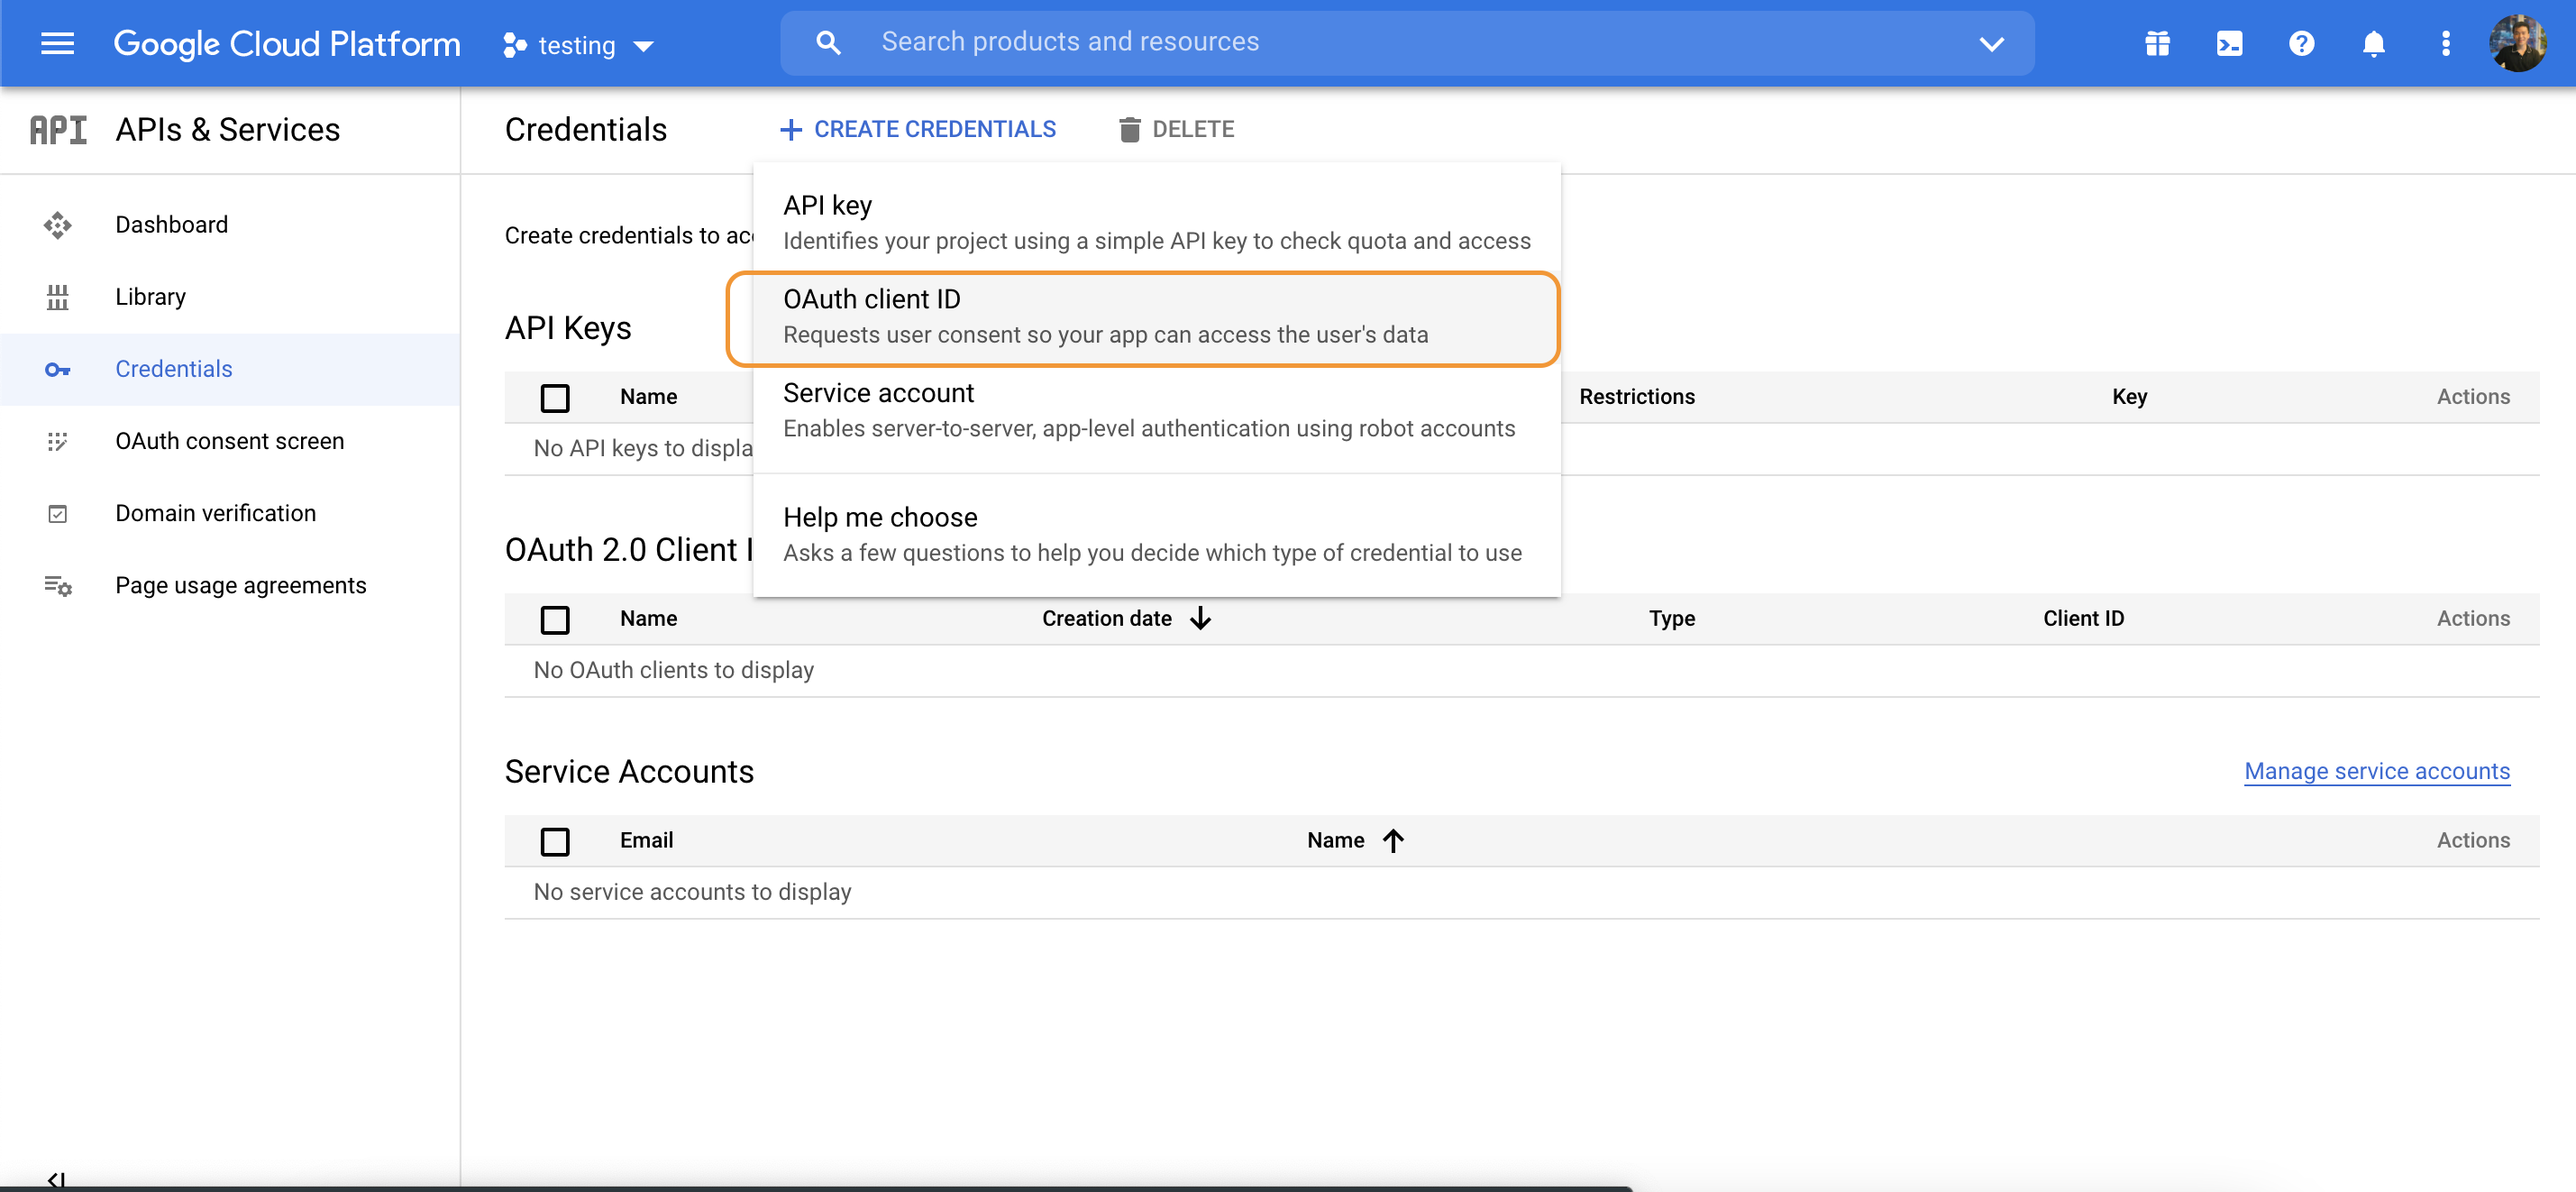

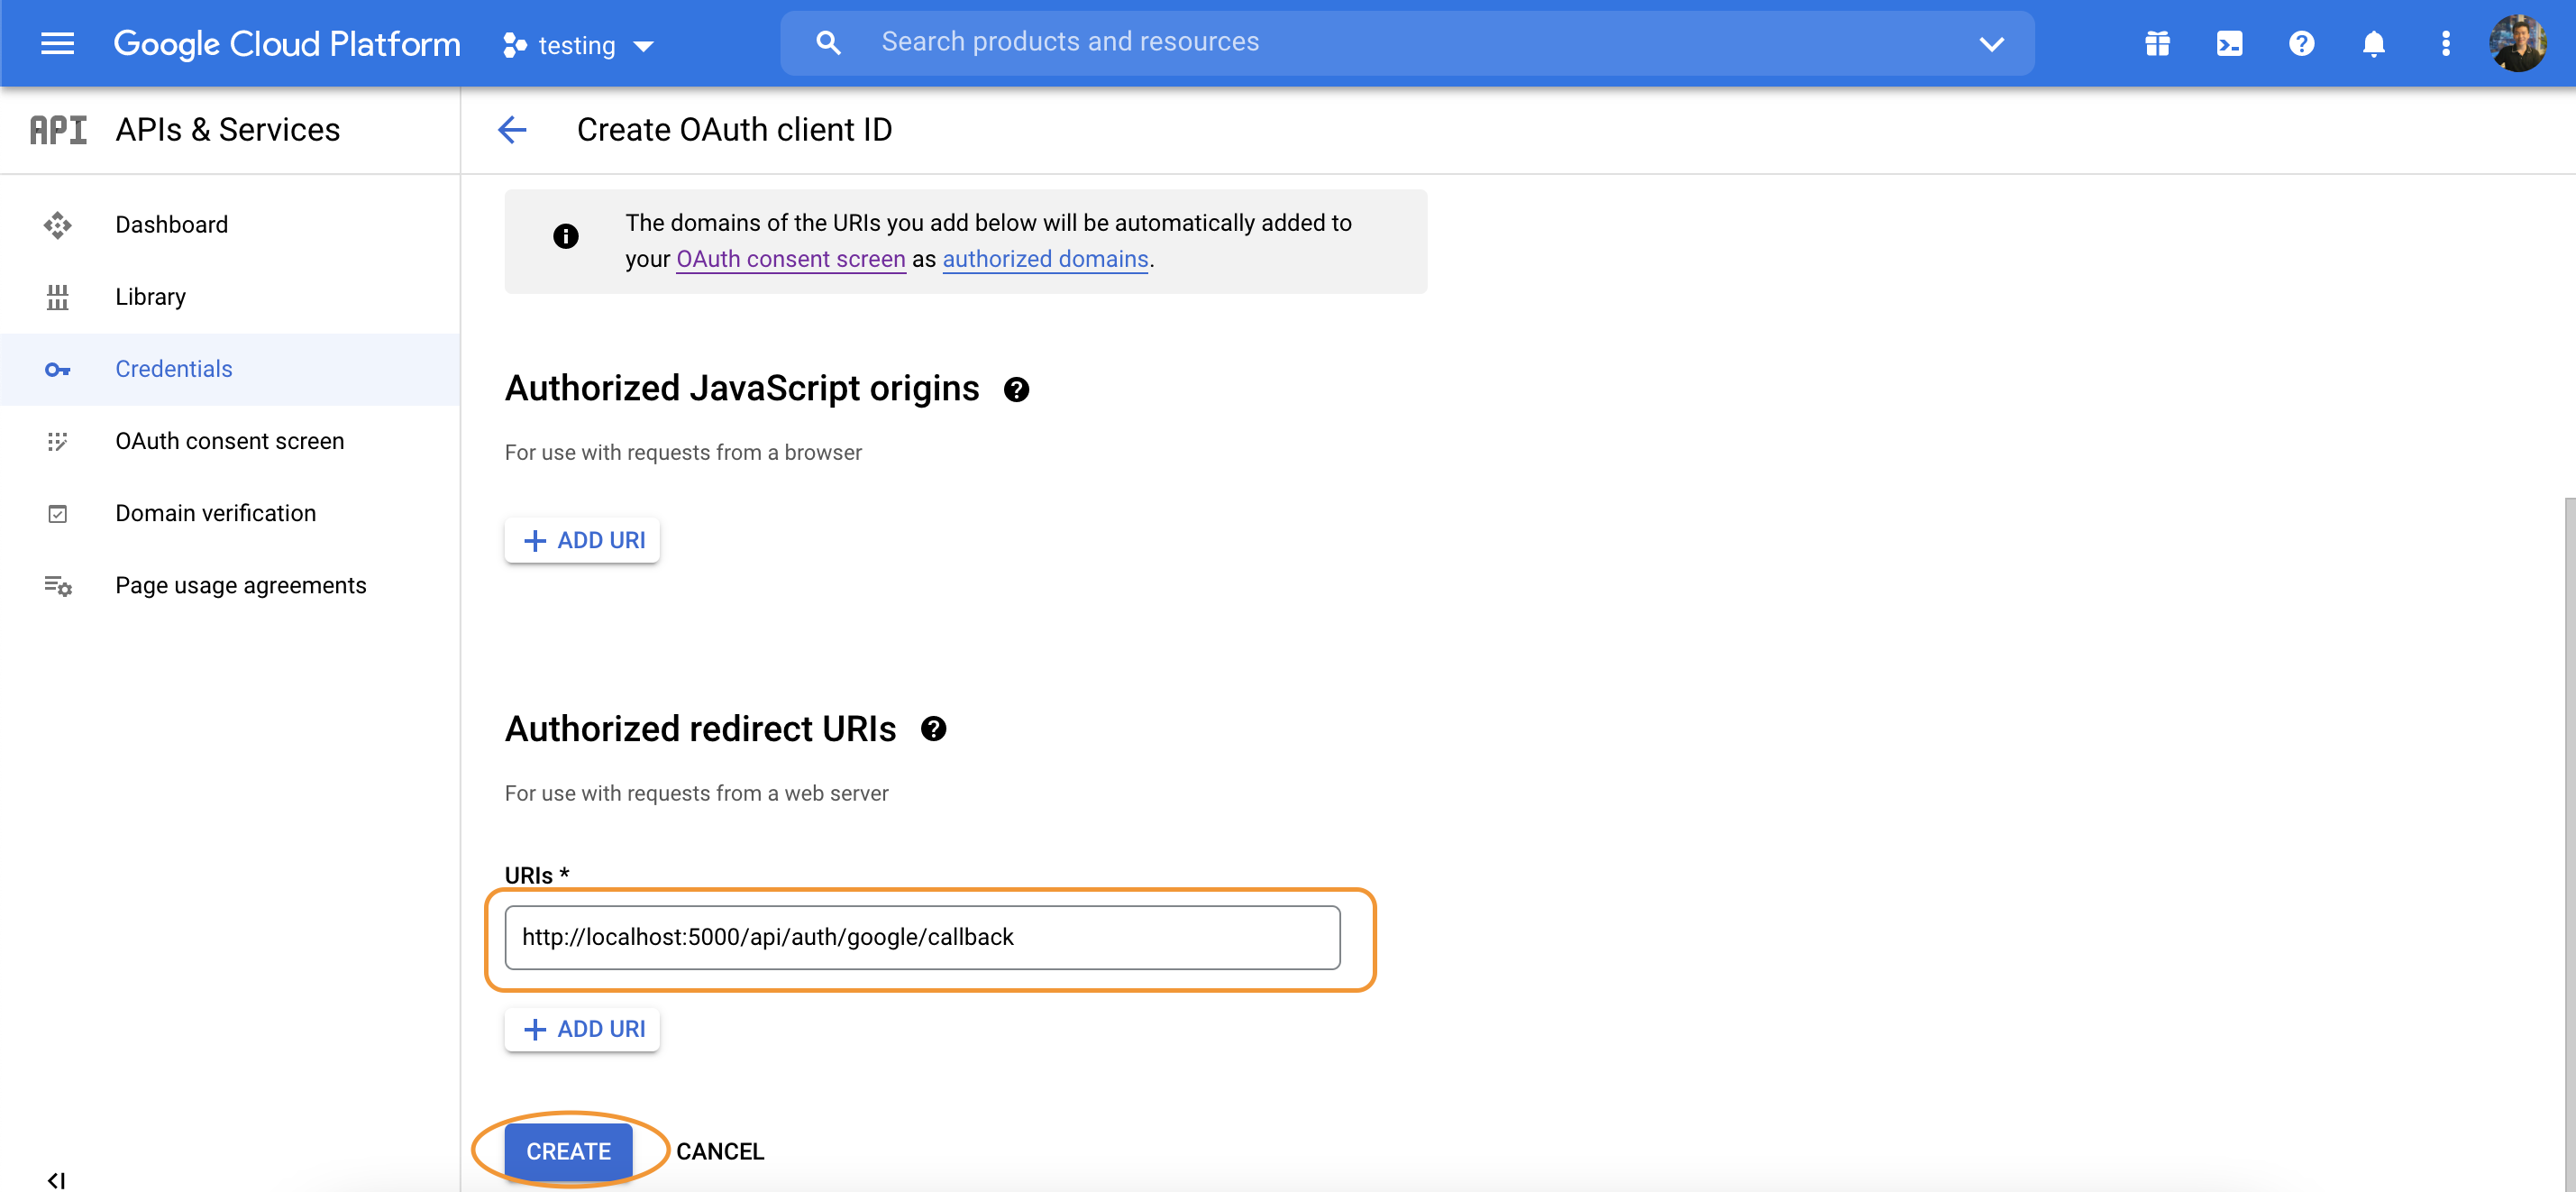
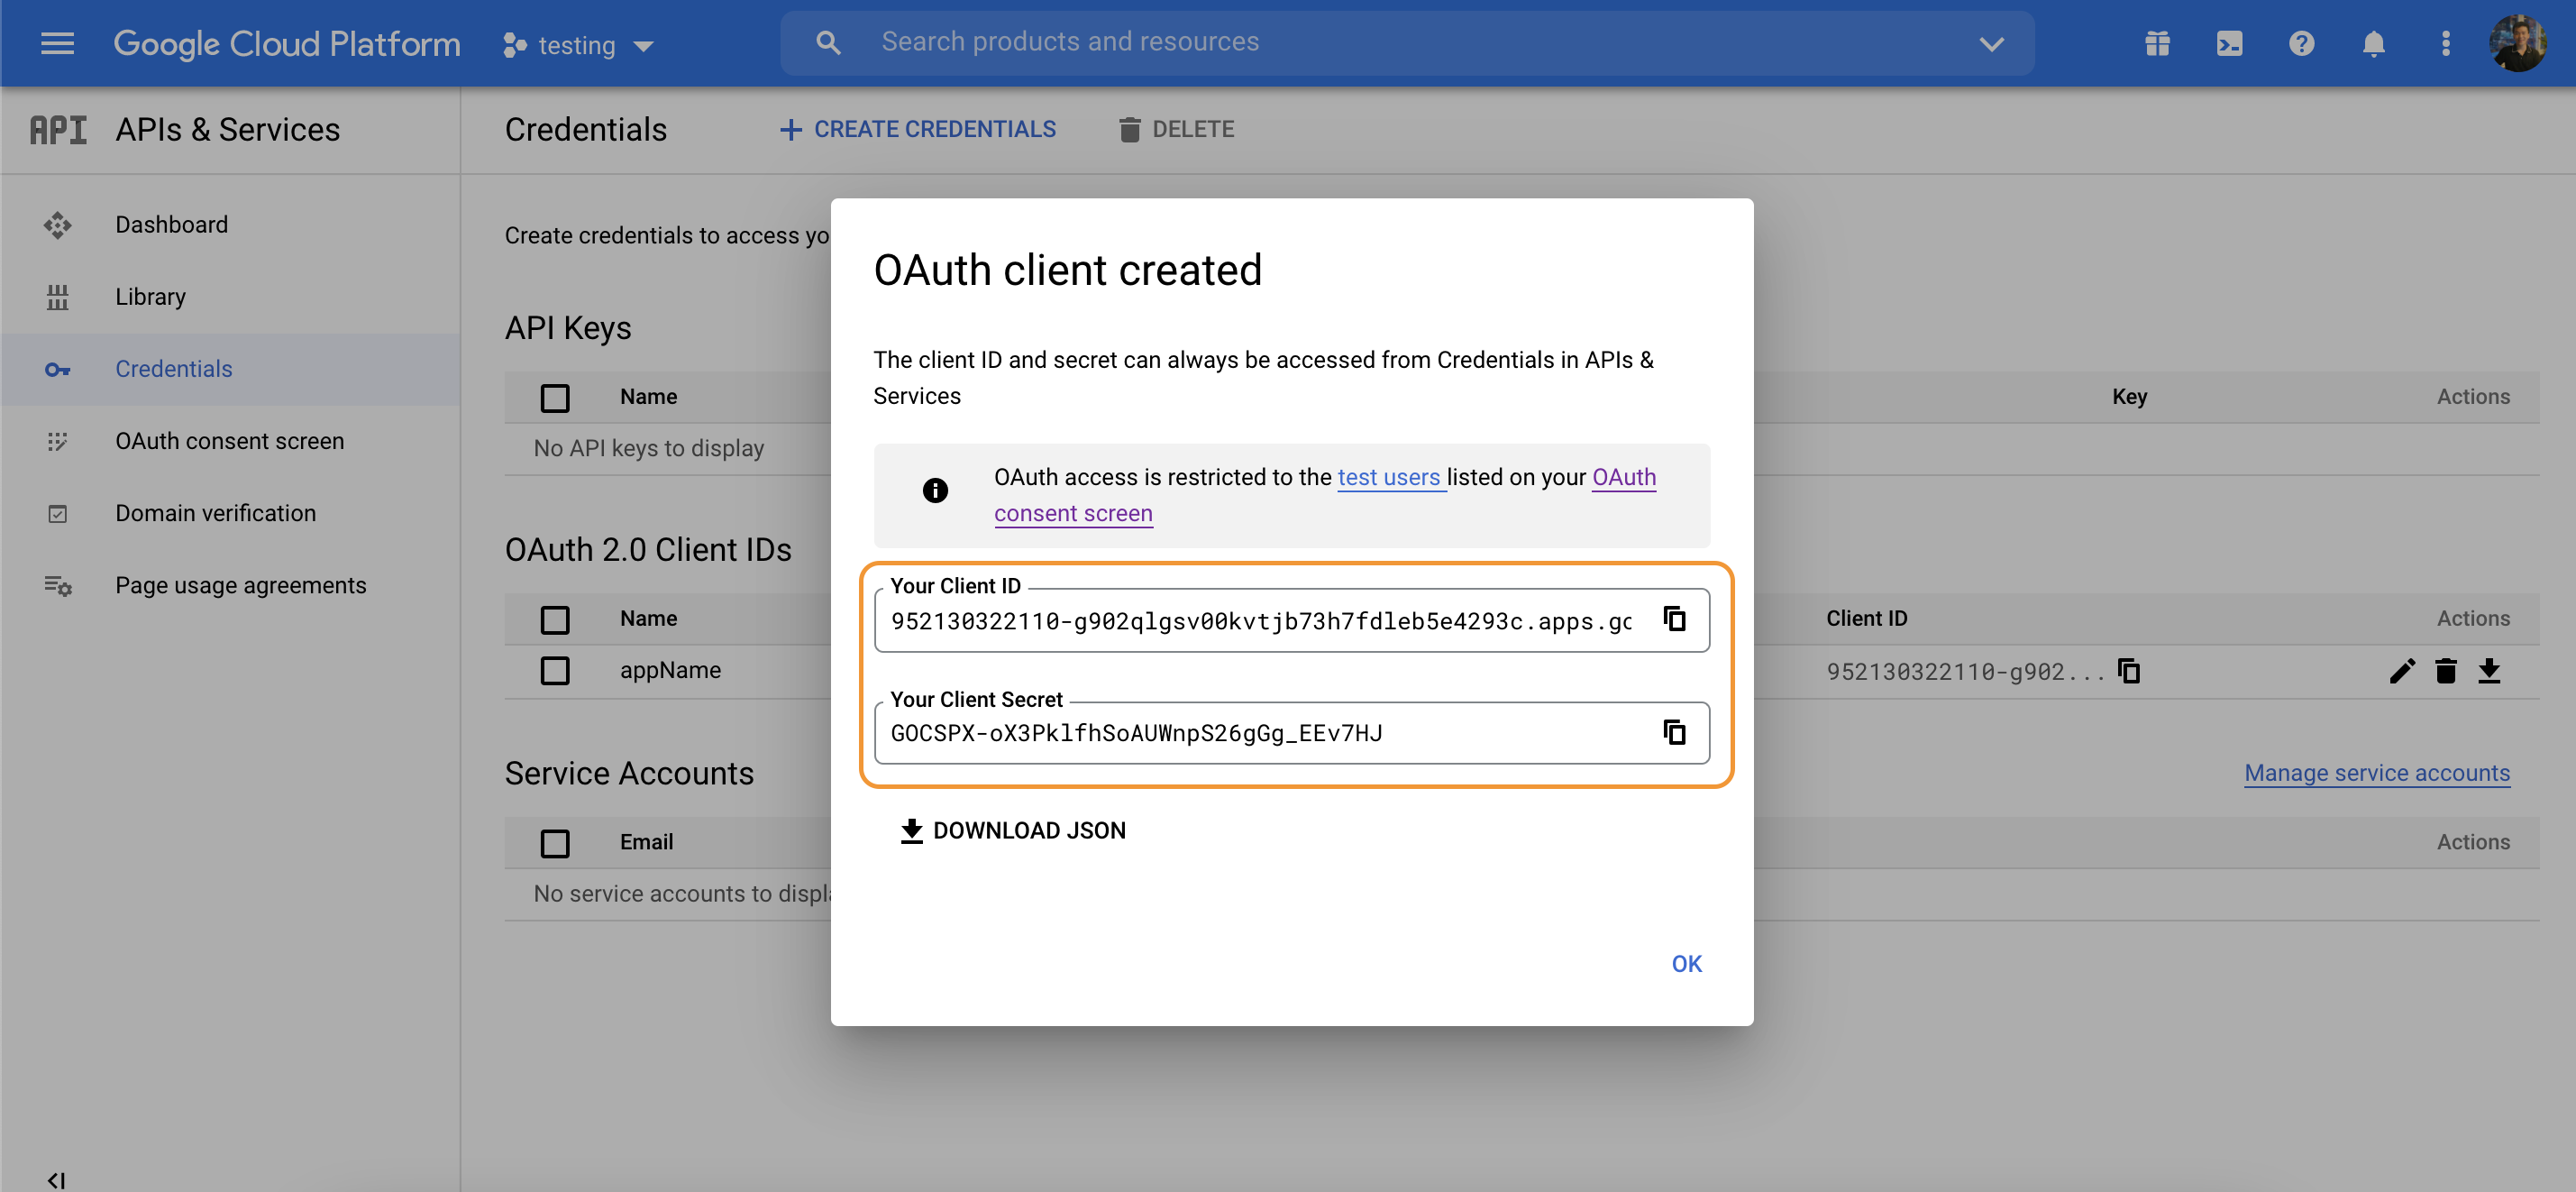
Configure passport Google strategy
npm i passport-google-oauth20
const GoogleStrategy = require("passport-google-oauth20").Strategy;

const GOOGLE_CLIENT_ID = "";
const GOOGLE_CLIENT_SECRET = "";

passport.use(
  new GoogleStrategy(
    {
      clientID: GOOGLE_CLIENT_ID,
      clientSecret: GOOGLE_CLIENT_SECRET,
      callbackURL: "http://localhost:5000/api/auth/google/callback",
    },
    async function (req, accessToken, refreshToken, profile, cb) {
      const defaultUser = {
        name: profile.name.givenName,
        email: profile.emails[0].value,
        avatar: profile.photos[0].value,
        googleId: profile.id,
      };
      let user = await User.find({ googleId: profile.id });
      if (user[0]) return cb(null, user[0]);
      user = await User.create({ ...defaultUser });
      return cb(null, user);
    }
  )
);
router.get(
  "/login/google",
  passport.authenticate("google", { scope: ["profile", "email"] })
);

router.get(
  "/auth/google/callback",
  passport.authenticate("google", {
    failureMessage: "Cannot login to google",
    failureRedirect: "/fail",
    successRedirect: "/success",
  }),
  (req, res) => {
    console.log(req.user);
    res.send("You're sign in with Google");
  }
);

router.get("/success", function (req, res) {
  res.json({ message: "Success" });
});

router.get("/fail", function (req, res) {
  res.json({ message: "Fail" });
});
We could implement FB login in our app by following this guide
Create Facebook Developer account
FB https://developers.facebook.com/apps/

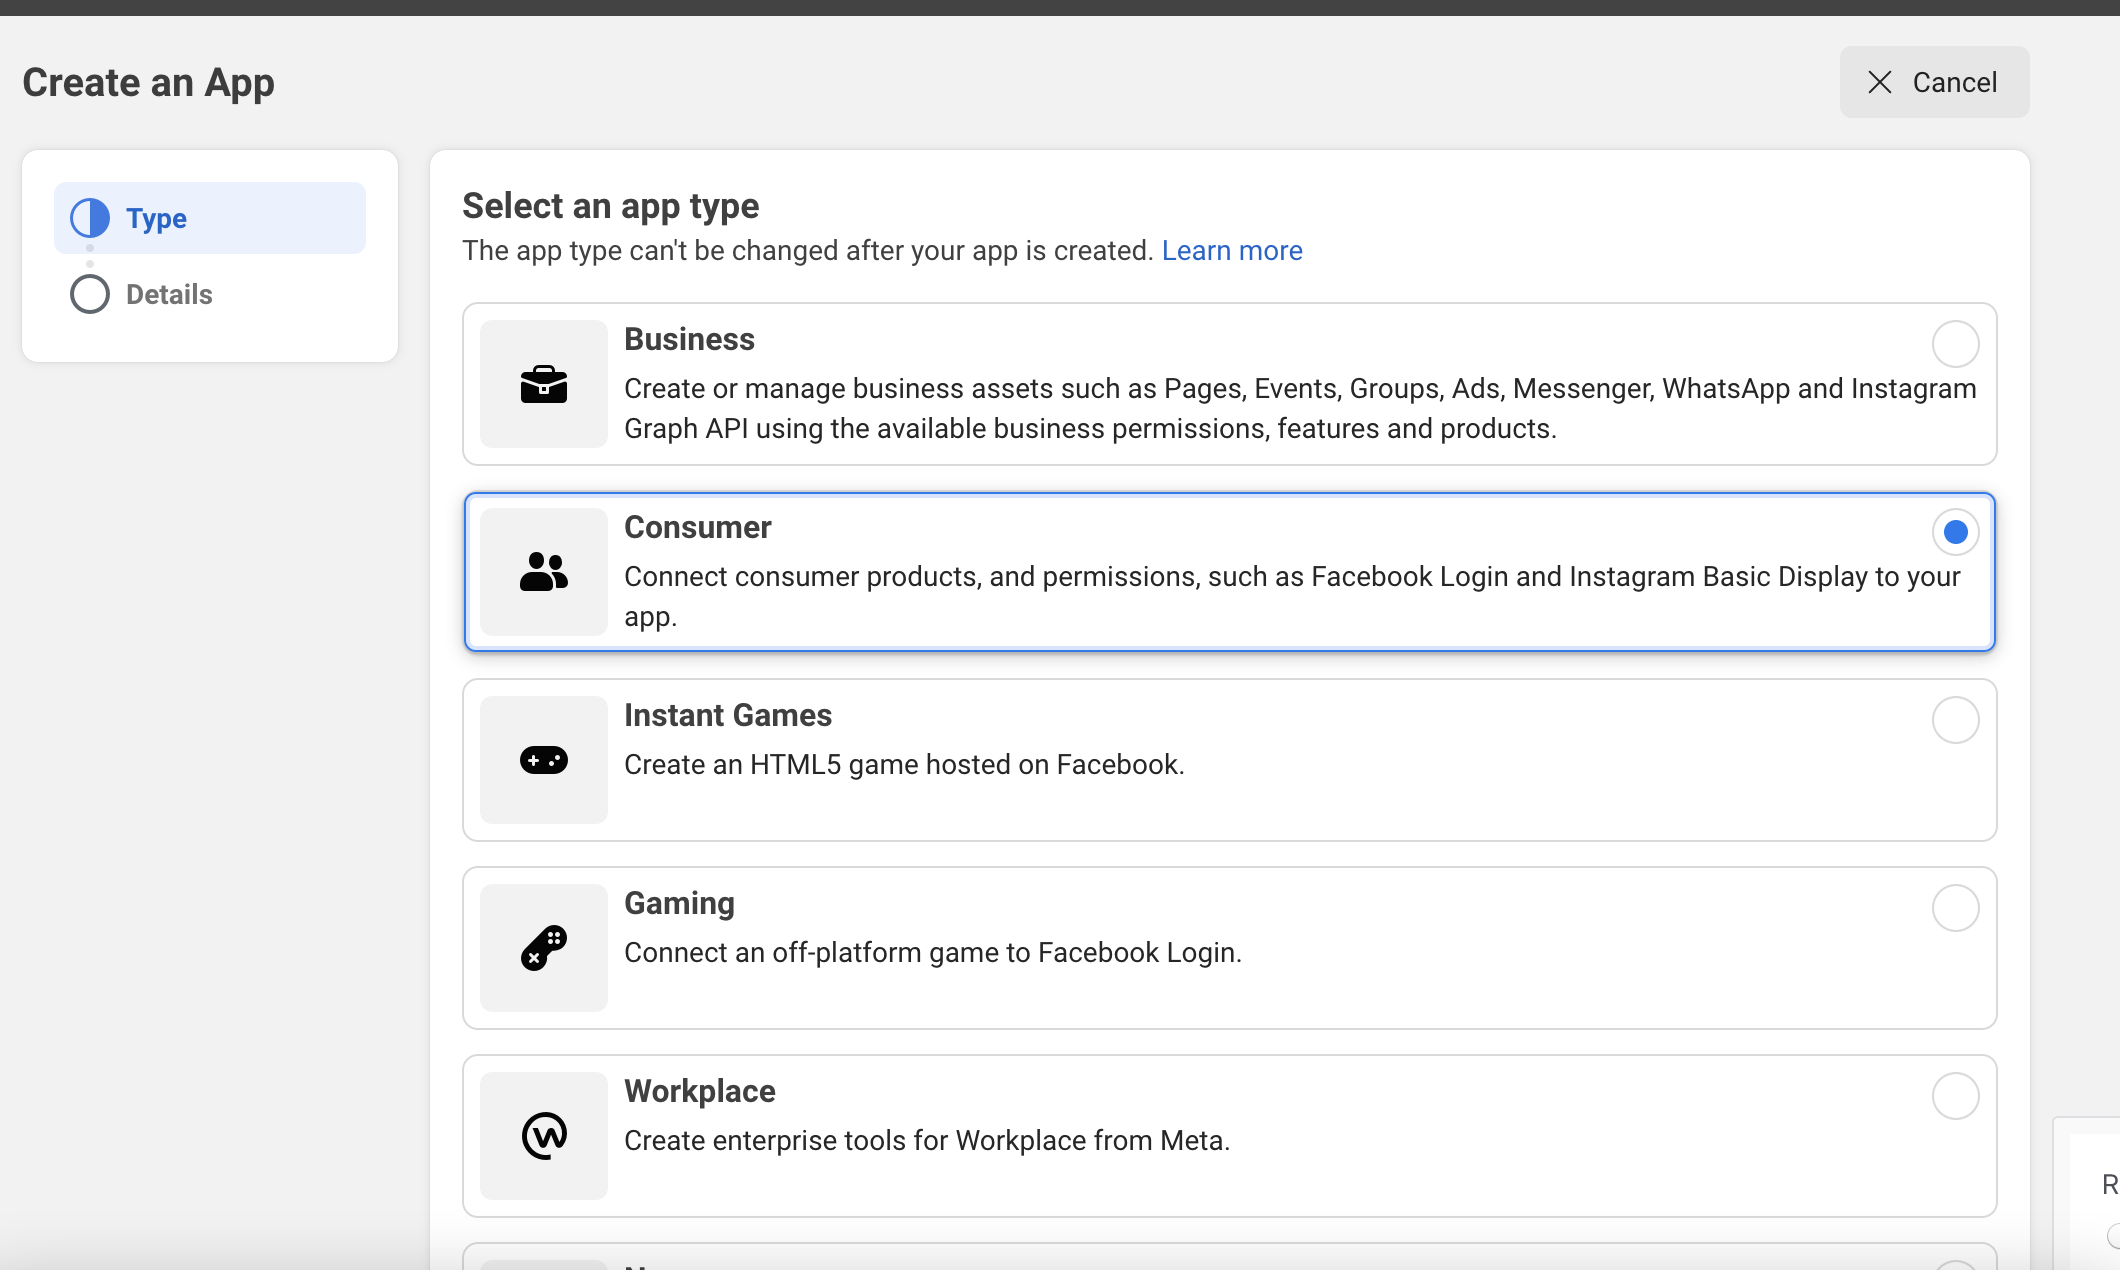
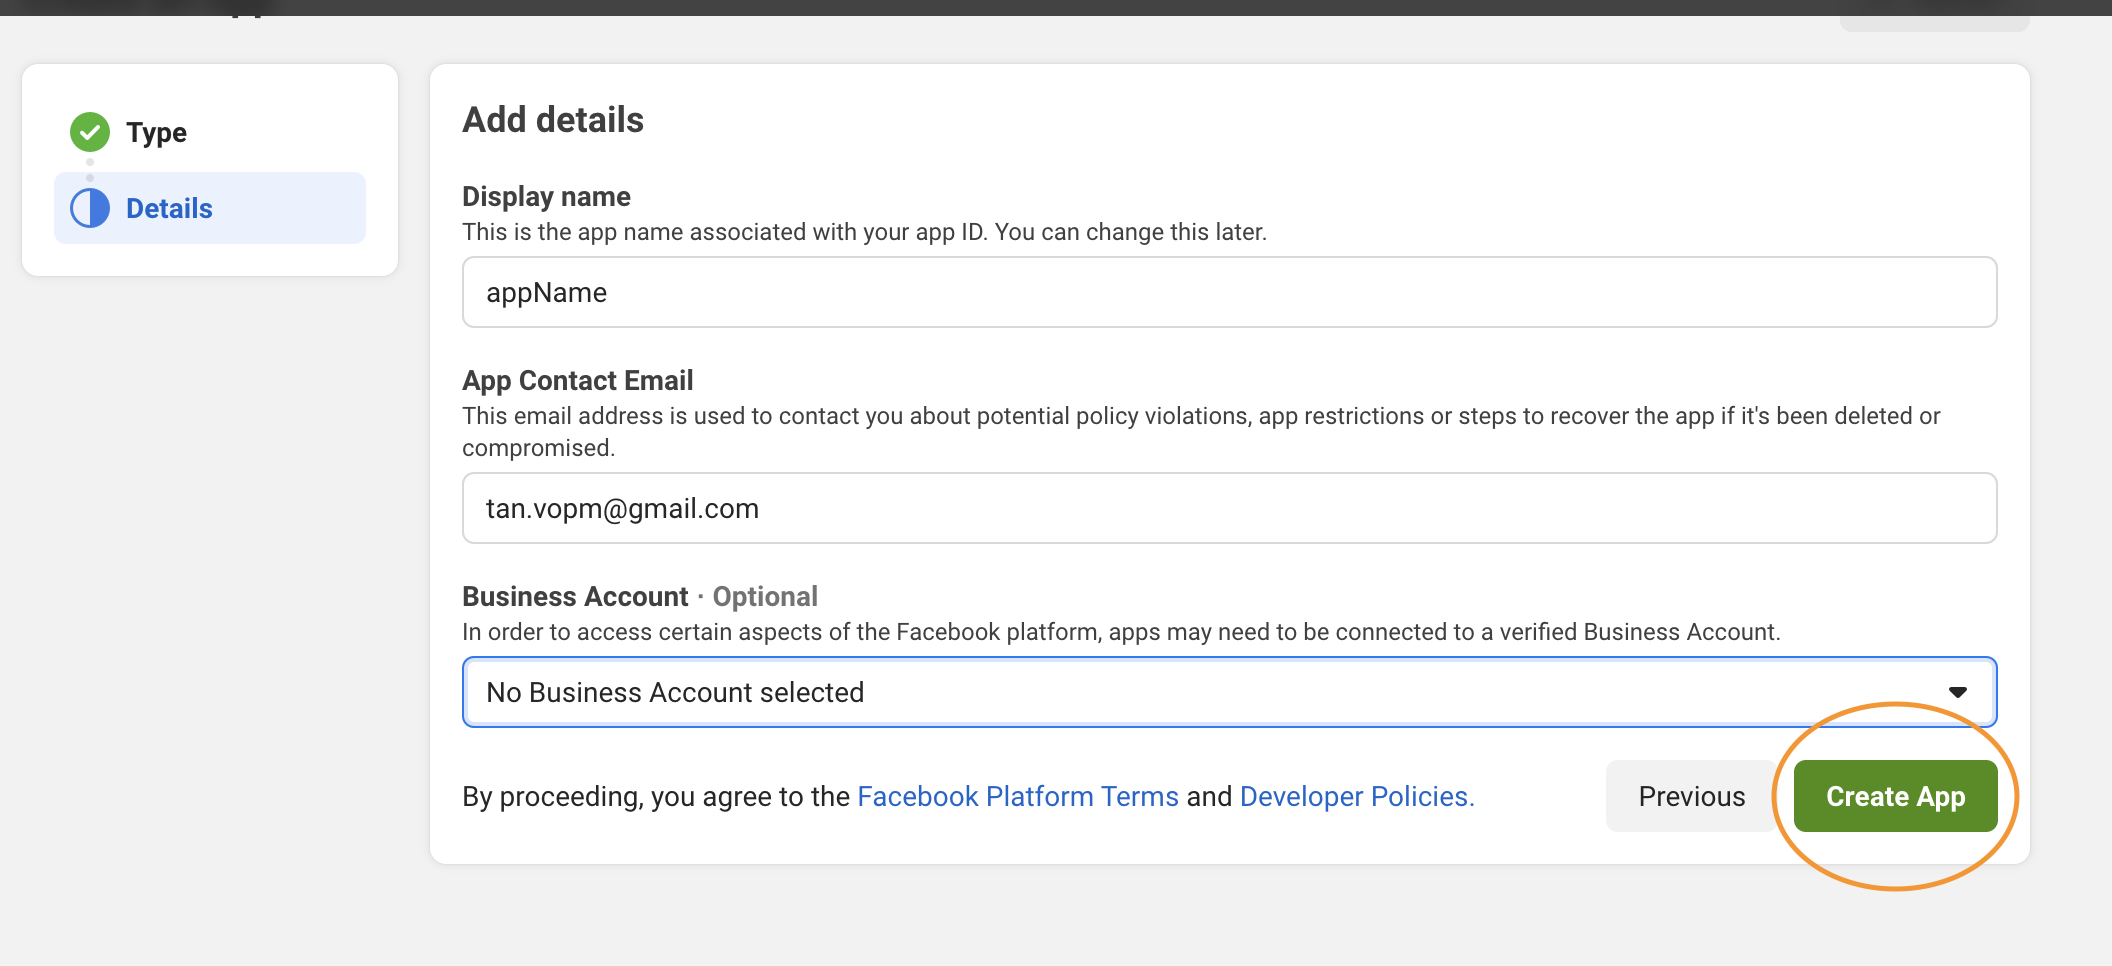
Configure passport FB strategy
npm i passport-facebook
const FacebookStrategy = require("passport-facebook").Strategy;
const FACEBOOK_CLIENT_ID = "";
const FACEBOOK_CLIENT_SECRET = "";
passport.use(
  new FacebookStrategy(
    {
      clientID: "",
      clientSecret: "",
      callbackURL: "http://localhost:5000/api/auth/facebook/callback",
      profileFields: ["id", "email", "displayName"],
    },
    async function (accessToken, refreshToken, profile, done) {
      console.log(profile);
      const defaultUser = {
        name: profile.displayName,
        email: profile.emails[0].value,
        facebookId: profile.id,
      };
      let user = await User.find({ facebookId: profile.id });
      if (user[0]) return done(null, user[0]);
      user = await User.create({ ...defaultUser });
      return done(null, user);
    }
  )
);
router.get(
  "/login/facebook",
  passport.authenticate("facebook", { scope: ["email"] })
);

router.get(
  "/auth/facebook/callback",
  passport.authenticate("facebook", {
    failureMessage: "Cannot login to facebook",
    failureRedirect: "/fail",
    successRedirect: "/success",
  }),
  (req, res) => {
    console.log(req.user);
    res.send("You're sign in with Facebook");
  }
);
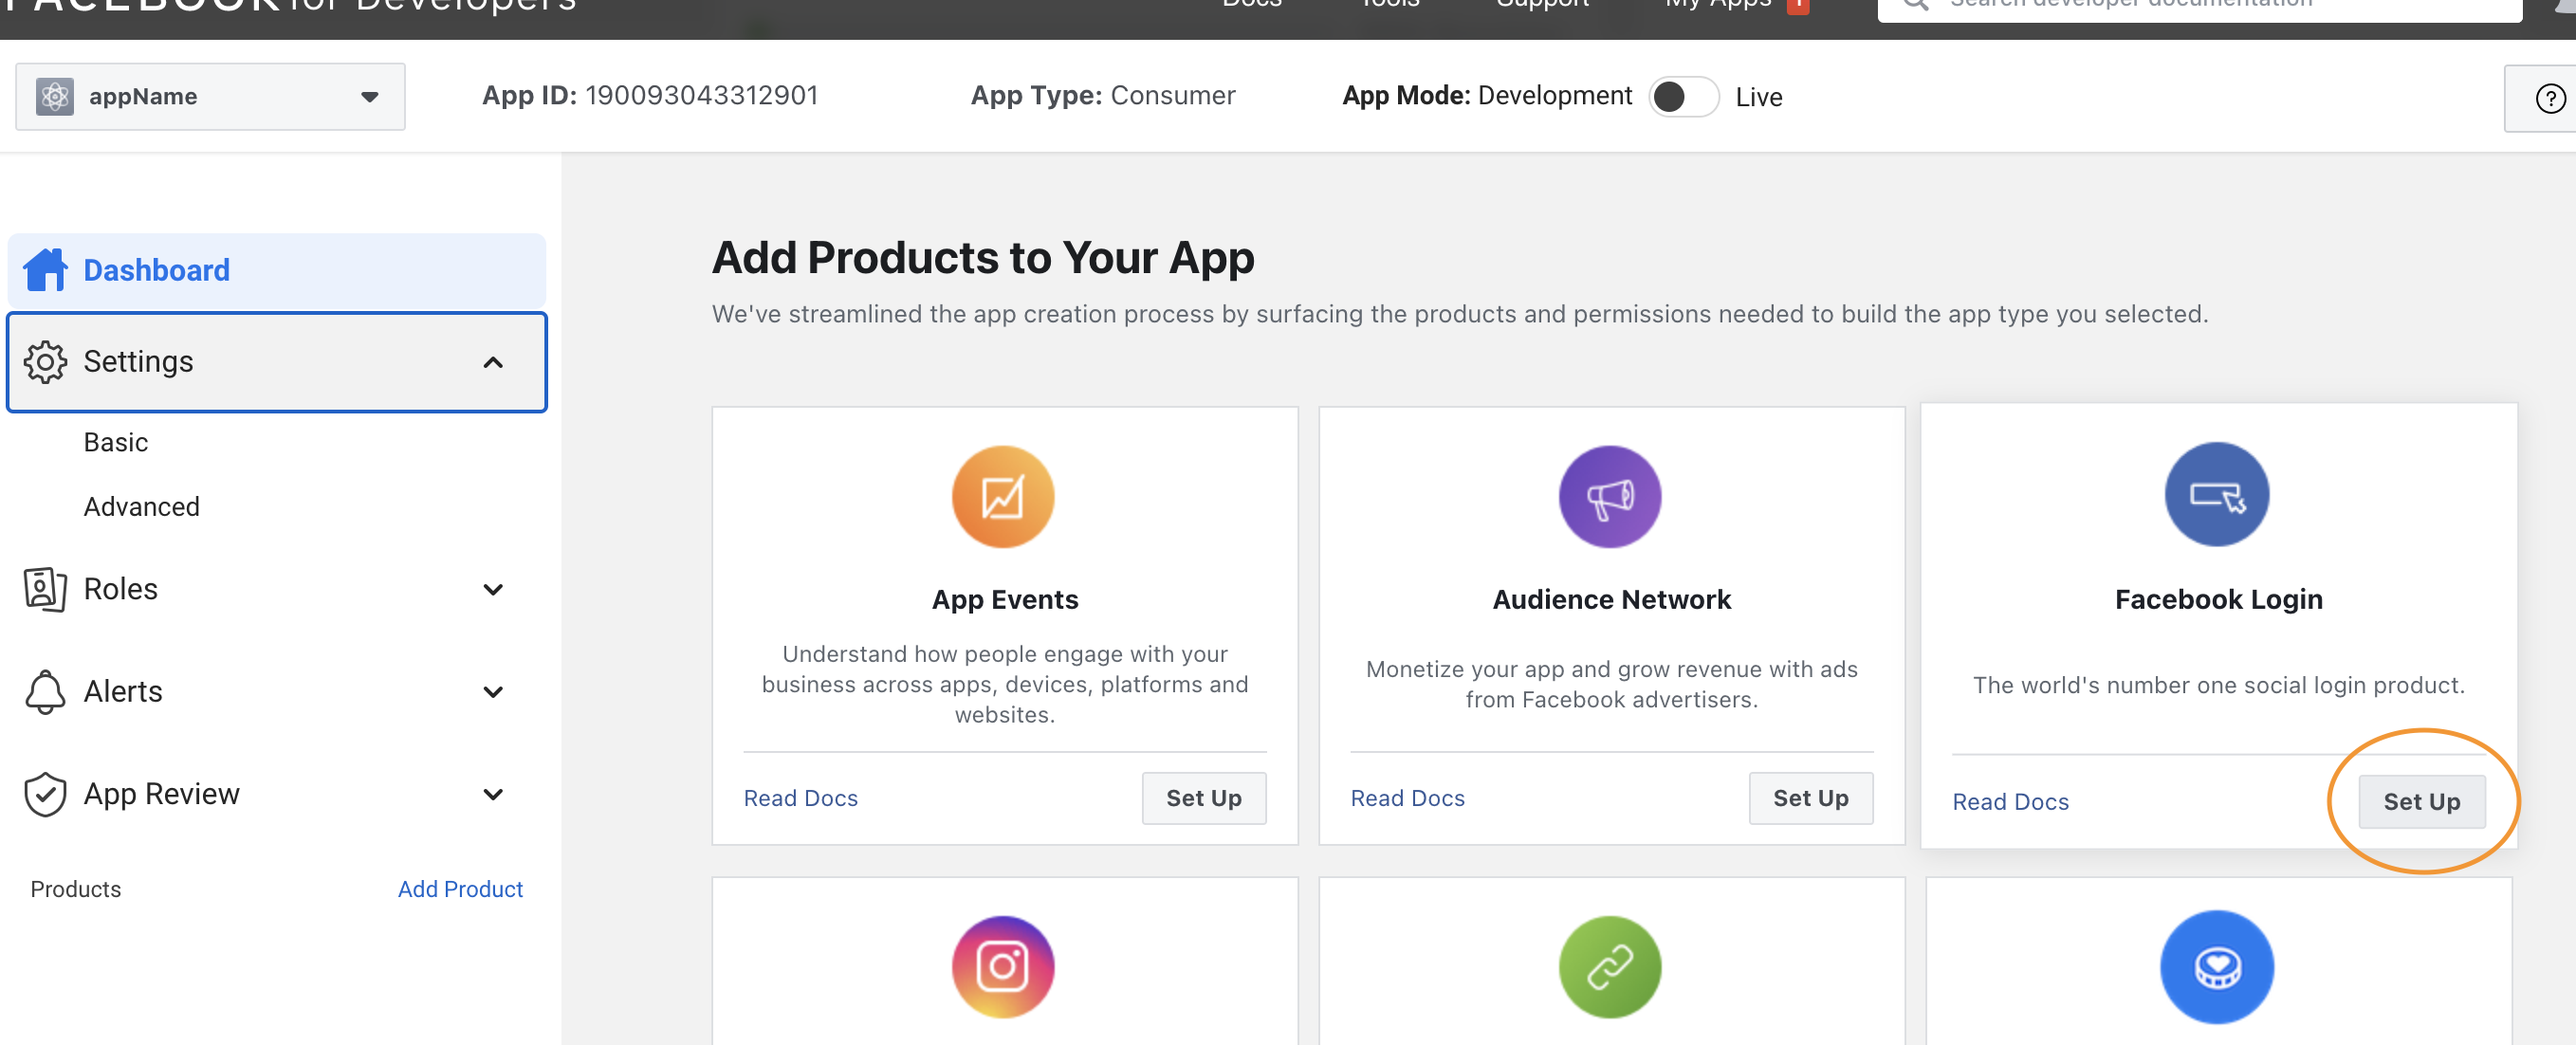
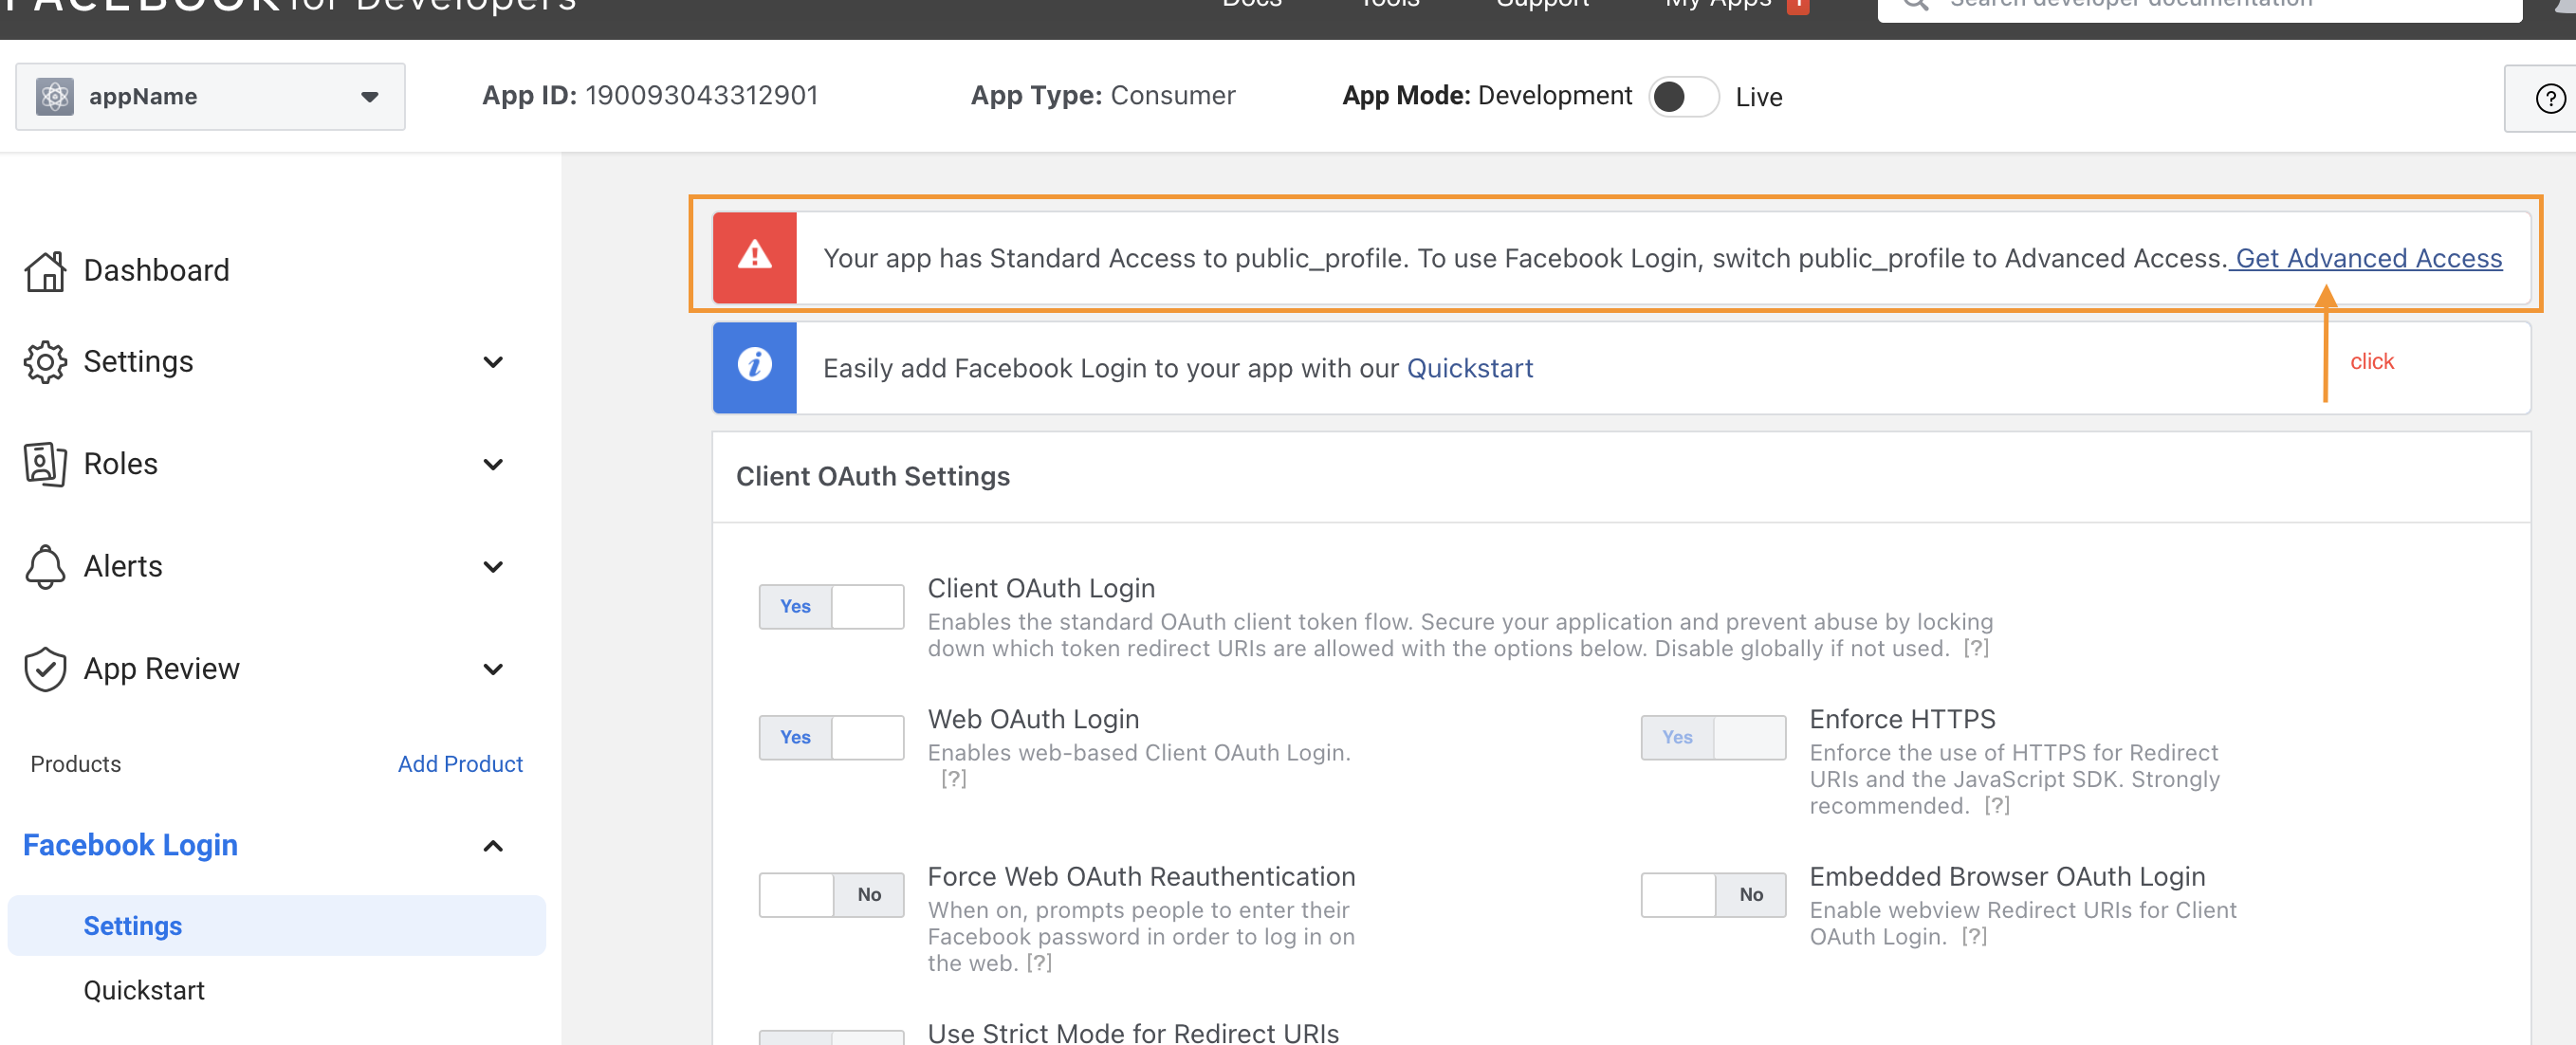
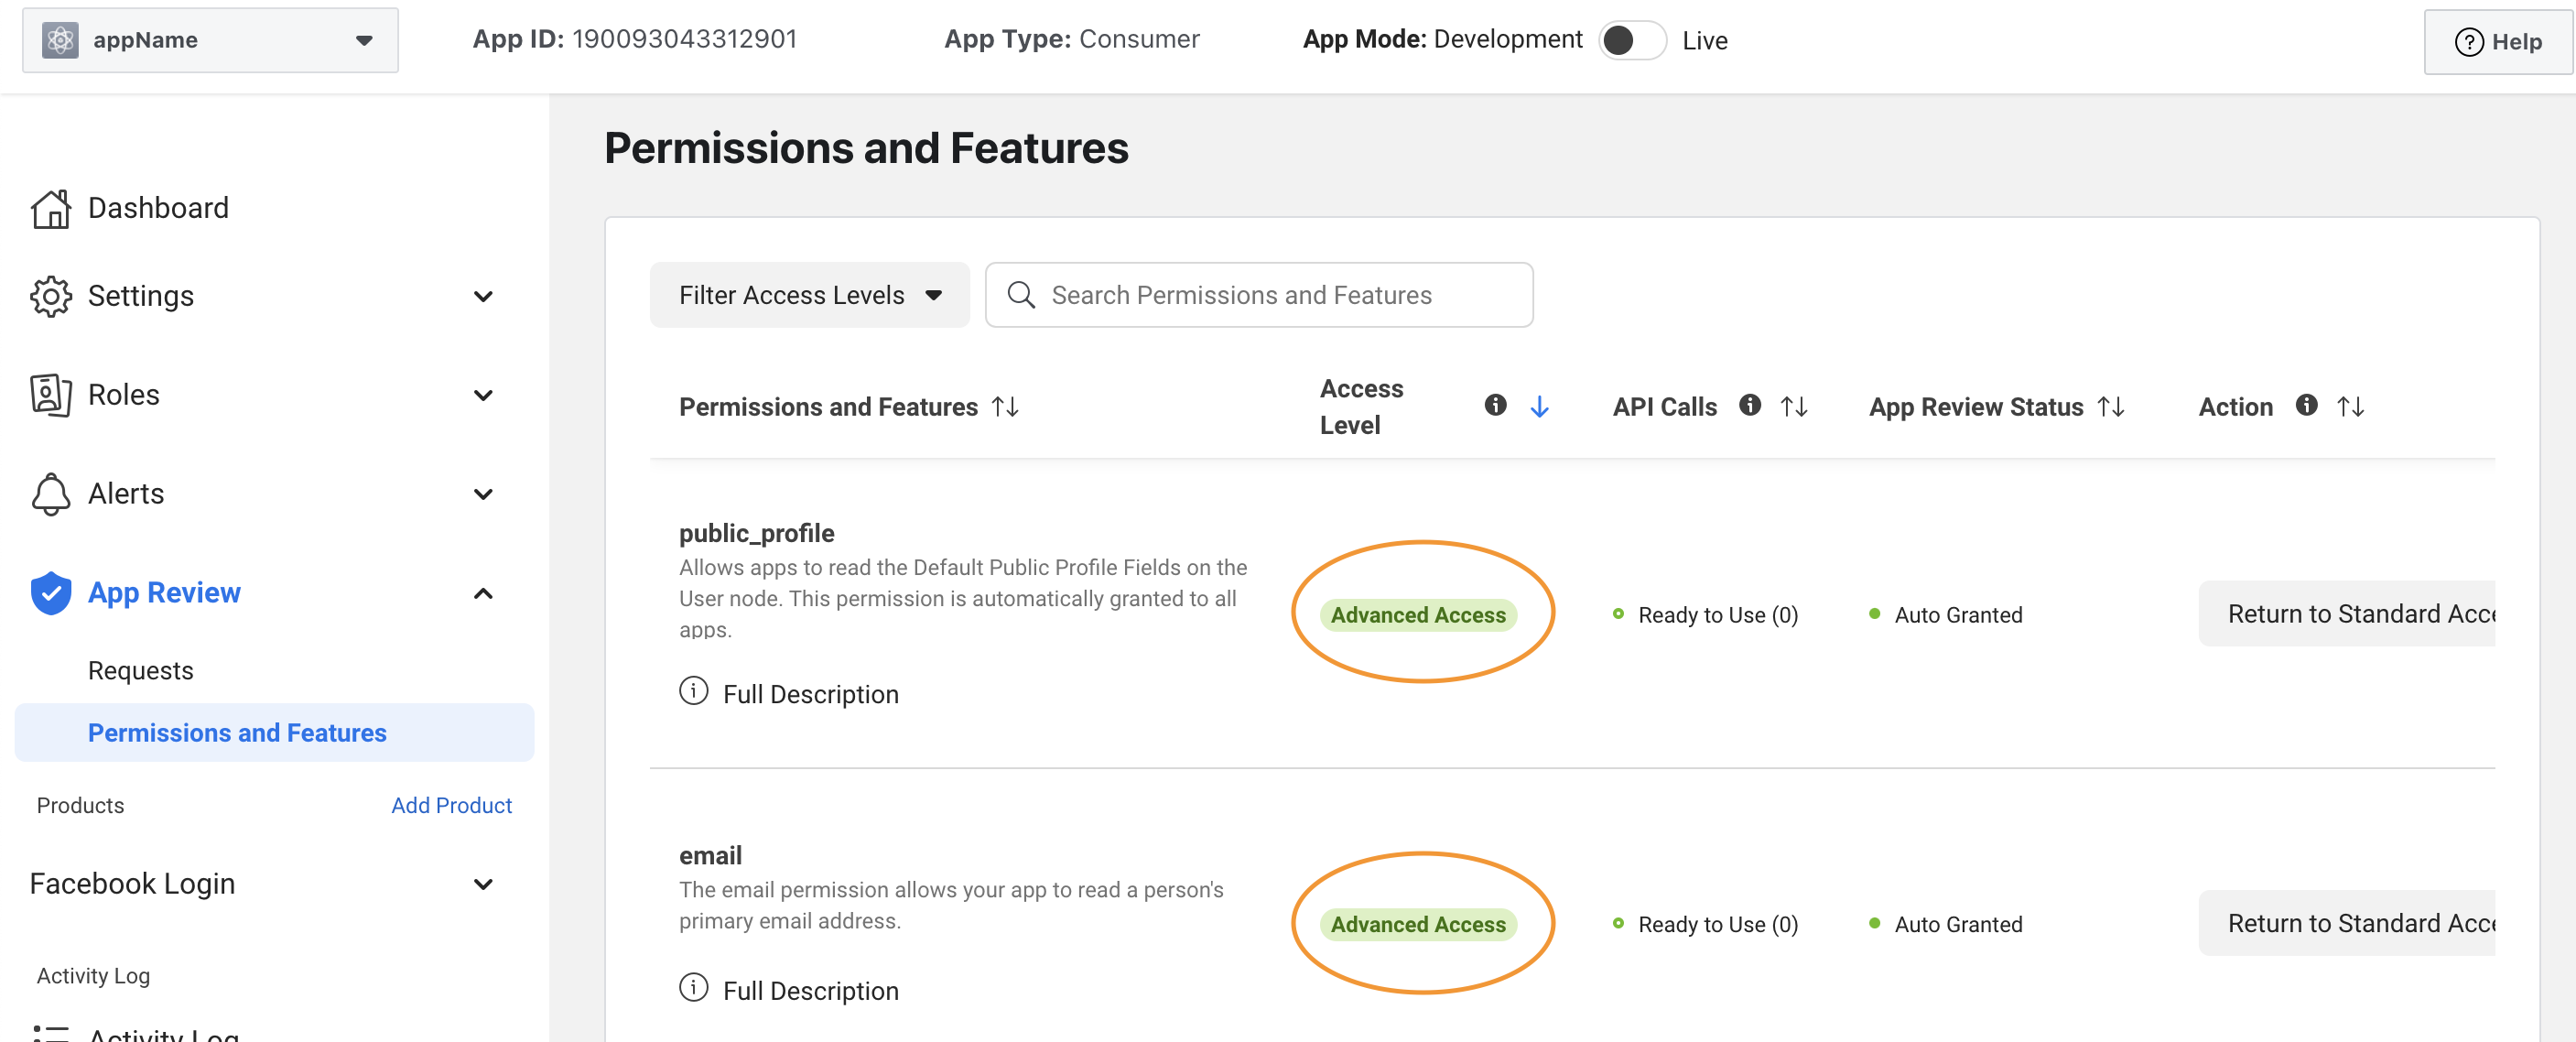
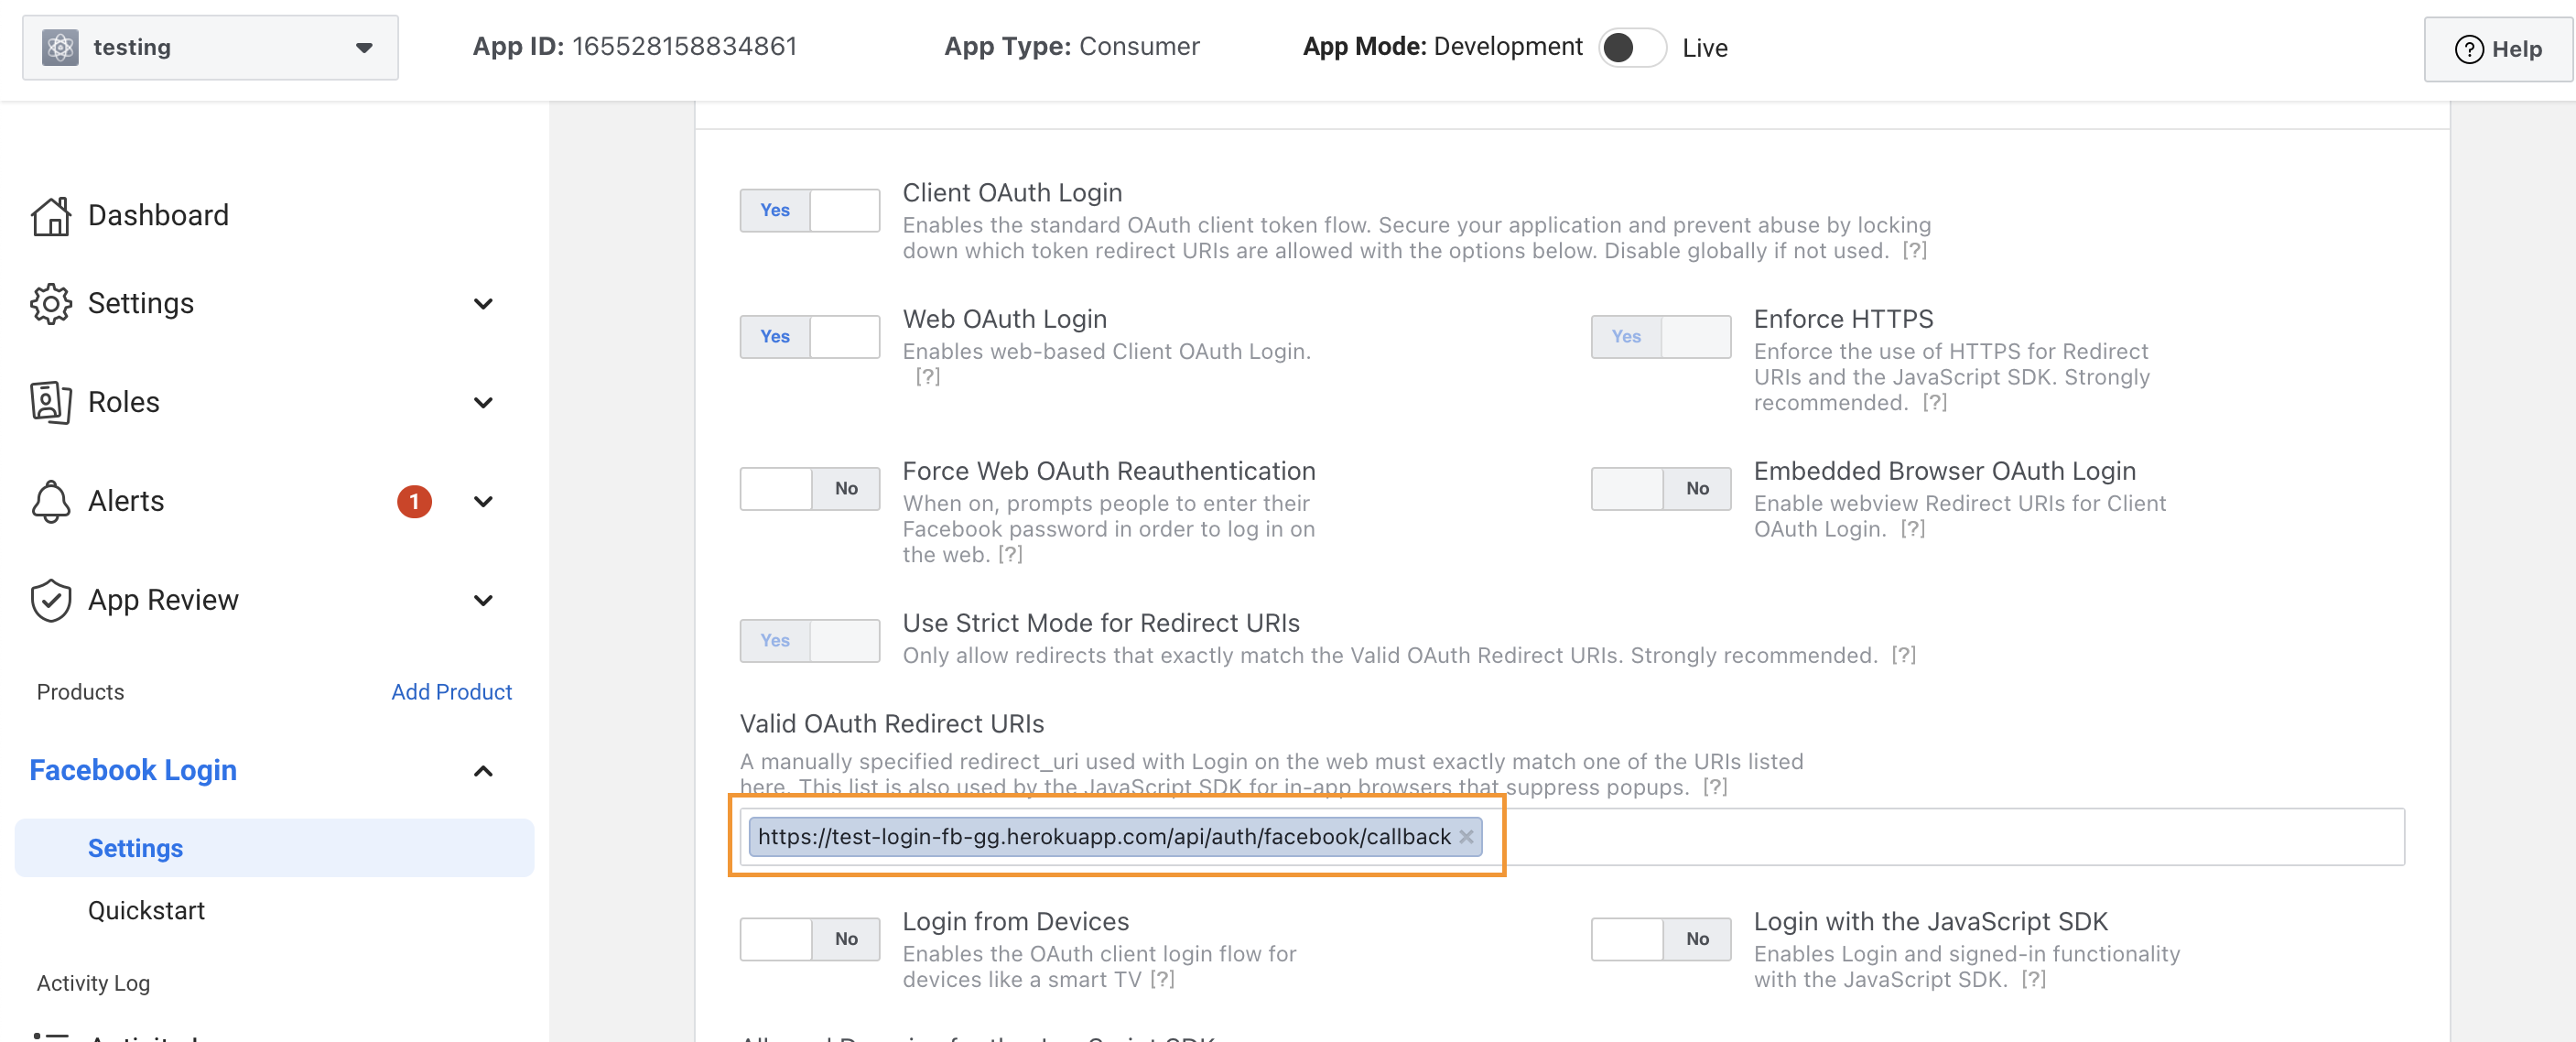
You might face a bug that said can not access to Facebook without SSL license. So now, you can deploy your app with heroku to login (and you have to do this later on your project).
But for now, for testing purpose, we can create a test app:
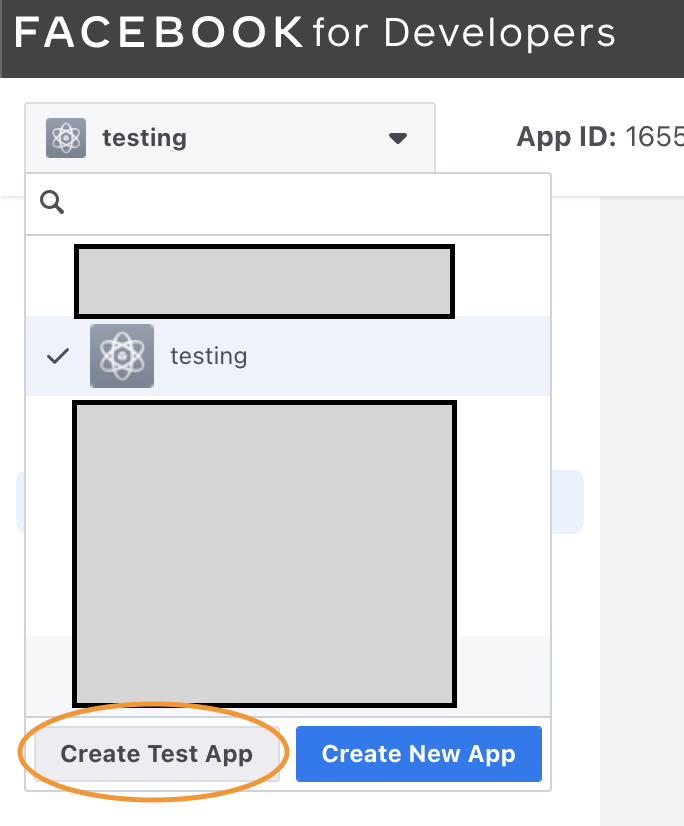
After that, follow the step above to add af "Facebook Login" Product. Then test with your app.