Today, we will only give you the schemas and the stories. It is now your job to add reaction to CoderBook.
Requirements
- As a user I can react to a post.
- As a user when I've reacted to a post the reaction button changes.
- As a user I can choose which reaction I would like.
- As a user if I've already reacted to a post, then I can remove my reaction by clicking the reaction
The schema
const mongoose = require("mongoose");
const Schema = mongoose.Schema;

const reactionSchema = Schema(
  {
    // What type of reaction did we have?
    // https://mongoosejs.com/docs/validation.html
    type: {
      type: String,
      enum: {
        required: true,
        values: ["Like", "Heart", "Care", "Laugh", "Angry", "Sad"],
        message: "{VALUE} is not supported",
      },
    },

    // What is the id of the thing we reacted to?
    reactionableId: {
      required: true,
      type: Schema.Types.ObjectId,
    },

    // What did we react to?
    reactionableType: {
      type: String,
      enum: {
        required: true,
        values: ["Post", "Comment", "Photo", "Message"],
        message: "{VALUE} is not supported",
      },
    },
    owner: {
      ref: "User",
      required: true,
      type: Schema.Types.ObjectId,
    },
  },
  {
    timestamps: true,
  }
);

const Reaction = mongoose.model("Reaction", reactionSchema);
module.exports = Reaction;
Create Reactions
- Review a popup that reveals when the reaction button is clicked.
- Create 5 nested reactions.
- Define action which creates a reaction on the server.
- Define API endpoint which receives the request.
- Define controller handler which handles the request.
- Define model and create Reaction when appropriate data is sent.
- If everything went well, increase the number of reactions on the front end.
summary: Coderbook id: ftw-week9-5 categories: web-development tags: ftw-online status: Published authors: Vinh Feedback Link: https://www.coderschool.vn
When you run your frontend app on your local machine (usually localhost:3000), you connect to your local backend server (localhost:5000) which in turn connects to a local MongoDB database (localhost:27017). We save this info in the .env files in our frontend and backend apps, usually with the names REACT_APP_BACKEND_URL, FRONTEND_URL, MONGODB_URI and more.
However, when you deploy your project online, people won't have access to your localhost. That's why we need to change these variables to online ones in addition to saving all the other variables.
The idea is that, when you're developing locally, you will connect to your local backend and database, but in production, your sites (for this course) will be entirely online with the frontend hosted on Netlify, the backend on Heroku and the database on MongoDB Atlas.
So when you deploy your project to Netlify and Heroku, you need to update the environment variables that link to your frontend, backend and database to your live ones. You will still need to add the rest of the variables but you won't have to change them.
Let's go over the whole process!
- How to deploy your project using Netlify & Heroku
- How to connect your project to MongoDB Atlas
- Upload both your frontend project and your backend project to 2 different repositories on Github. Make sure you have a
.gitignorefile that has.envand/node_modules. We don't want to upload these to Github. - If you have not created any repository on Github for your project yet, you can go to Github website, click "New" (or go to this link), fill out the name and click "Create repository".
- In your Terminal/CMD/Bash, cd to your project folder and run these commands:
git init
git commit -m "first commit"
git remote add origin https://github.com/:owner/some-name.git
git push -u origin main OR master
The remote link should be the link to your Github repository you just created. The branch name should be either master or main.
Note: If you clone your project (i.e. git clone) then your local repository will automatically have a remote link. If you want to push your project to this remote link (for example, you clone your own project), then you don't need to change anything, you don't even need to run the code above. But if you want to change it (e.g. cloning someone else's project then pushing to your Github), you will need to run this to remove the existing remote link:
git remote remove origin
Then you can add another one to your own repository:
git remote add origin https://github.com/:owner/some-name.git
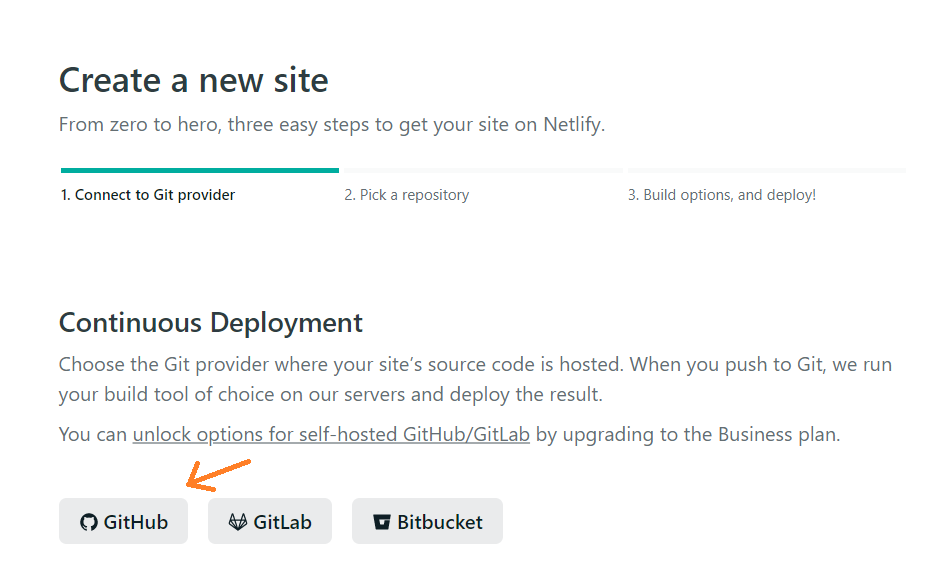
- Log into Netlify.
- Click "New site from Git".
- Choose where this Git is located (in our case, Github). You will need to authorize Netlify to Github in the popup screen.
Negative : If you use React Router in your project, to avoid the 404 error, you must add a file named _redirects (no file extension) in the public folder with this content: /* /index.html 200
- Choose your FRONTEND React project from the list.
- In the next screen, change the build command to
CI= npm run build.
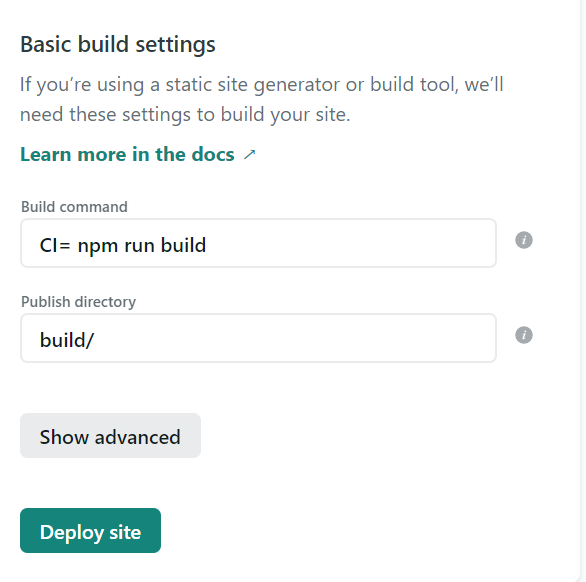
- Click "Show advanced" and "New variable" to add the variables from your
.envfile.
For your backend url, since we haven't deployed it yet, you can continue to use your localhost link here. We can change it any time later.
- Click "Deploy site".
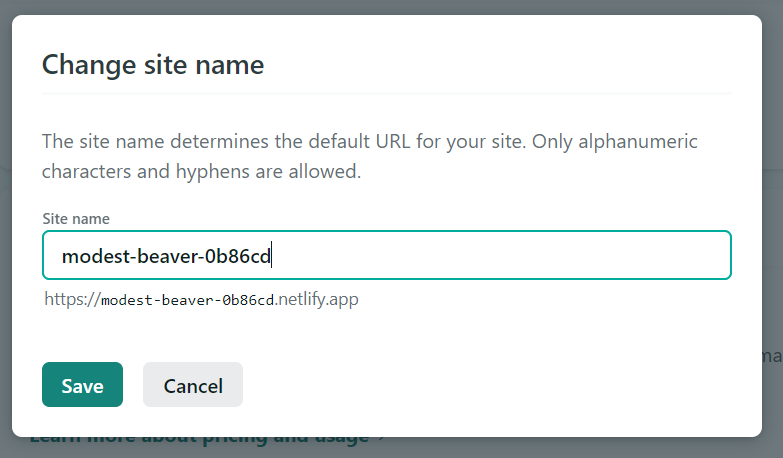
While your site is being deployed, you can change the site name to a more user-friendly one from the auto-generated name.
- Go to "Site Settings" > "Change site name" and change it to what you want.
After a few minutes, your site will be live! If it fails, you can read the logs under the "Deploys" tab. Trigger deploy again after you have fixed the problem.
- Log in to Heroku (or sign up if you haven't): Log in/ Sign Up
- Create a new app.
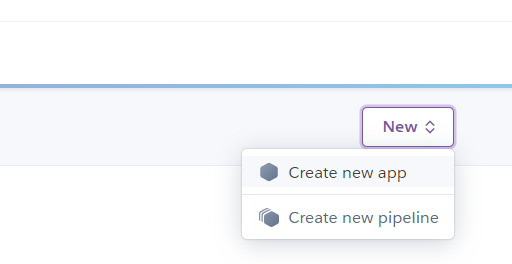
- Type in your app name and continue.
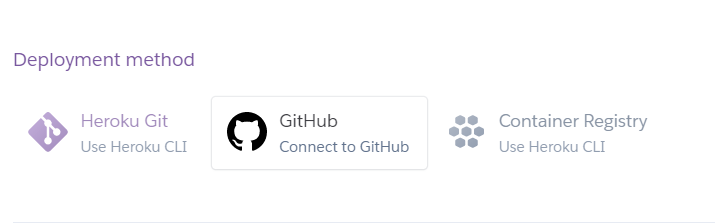
- Select Github as your deployment method.
- Search your repo name and connect to it.
- Under "Automatic deploys", click "Enable Automatic Deploys" so whenever you push to your master/main, the update will be deployed to Heroku.
- Click "Deploy branch" at the end to start deploying.
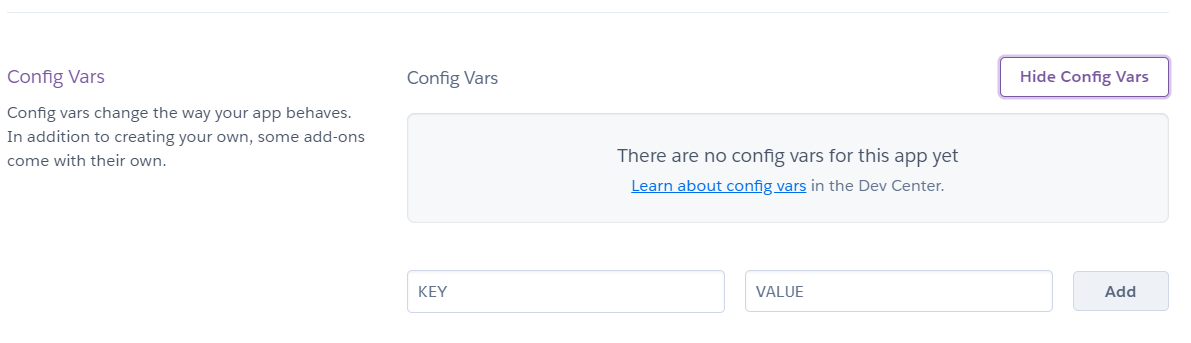
- Click the Settings tab > Reveal config vars and add your
.envvariables here:
Negative : Note that you cannot use your localhost database here, so make sure to use an .env variable for your MongoDB database so we can change it here later to a cloud database.
In your app.js you may have something like:
mongoose.connect('mongodb://localhost:27017/test');
- Change
'mongodb://localhost:27017/'into a.envvariable.
mongoose.connect(process.env.MONGODB_URI);
Now you can use the MONGODB_URI variable on Heroku!
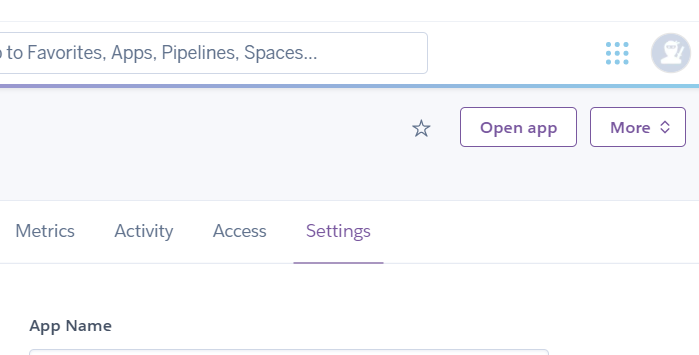
After a while, your backend will be live! If you don't know your app URL, you can click "Open app" in the top right corner.
- Log in/ Sign up here.
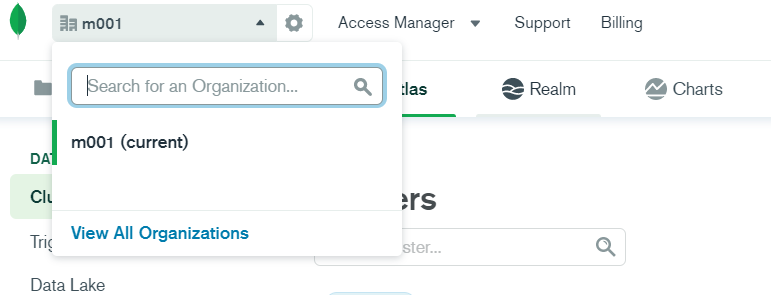
- Go to "View All Organizations" and create a new organization that will hold all your projects (or select an existing organization):
- In the new organization, create a project for your app.
- Build a cluster for this project.
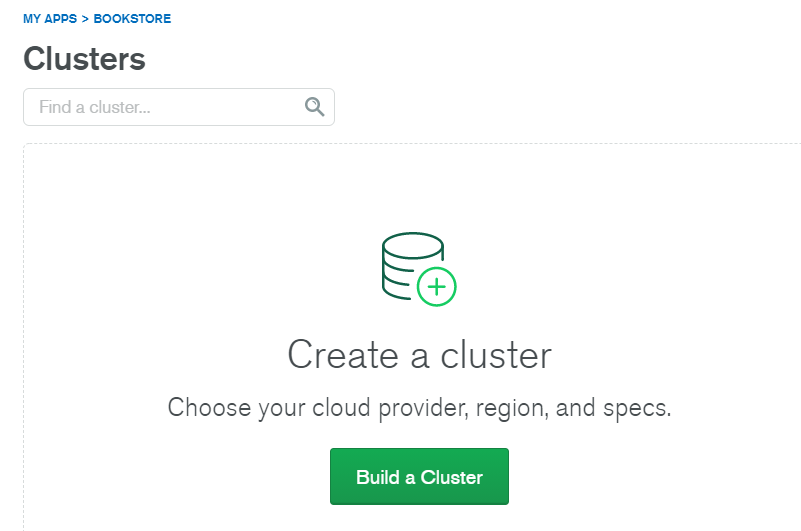
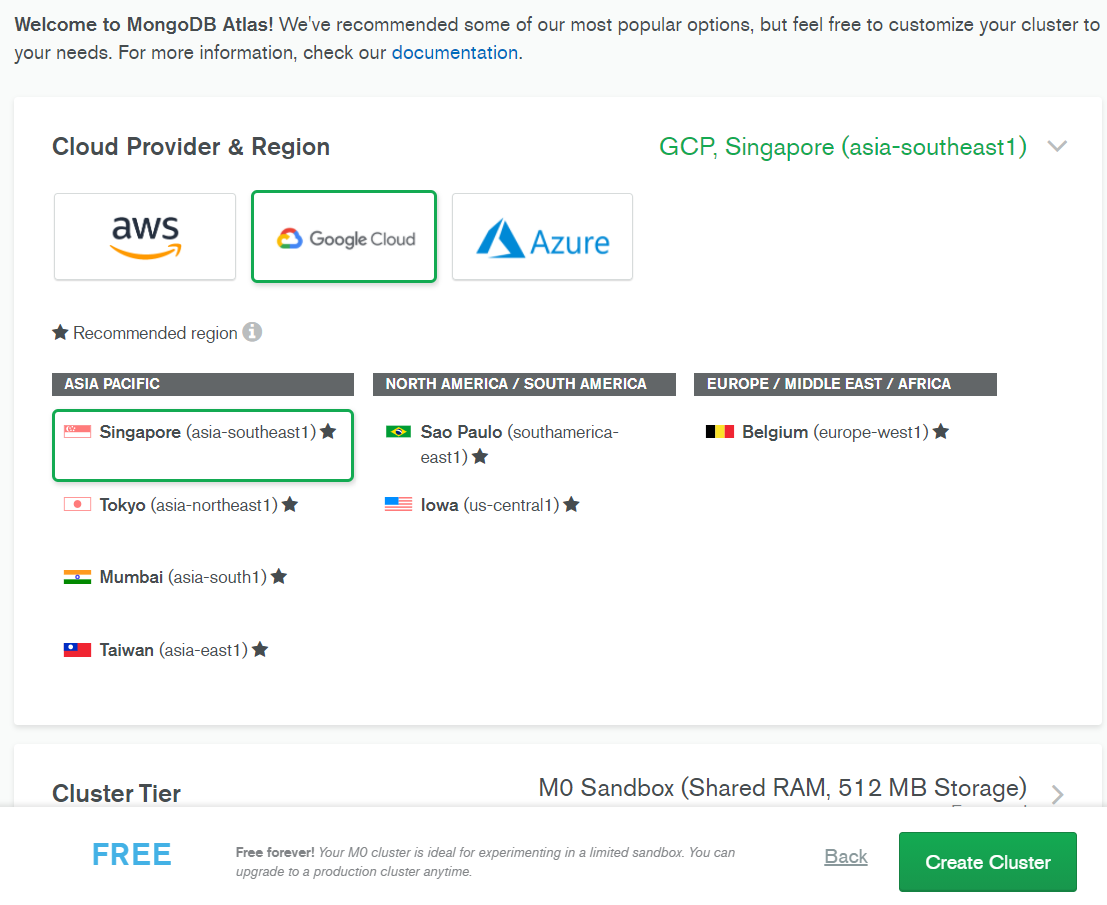
- Choose a free M0 cluster and click "Create Cluster". The process may take a while.
- On the left panel, click Database Access and create a new admin database user. Note down the username and password. We will need these to access the database later.
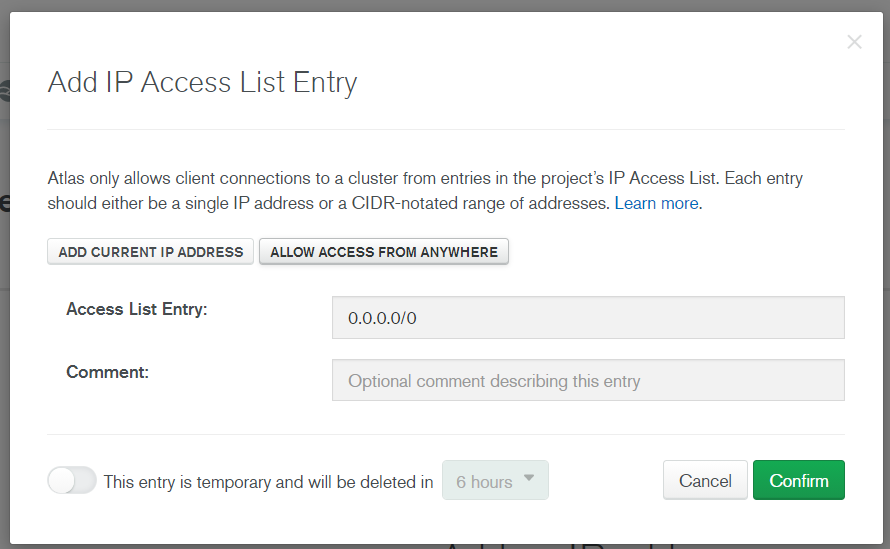
- On the same panel, click Network Access > Add IP Address > ALLOW ACCESS FROM EVERYWHERE > Confirm.
- Go back to Clusters and wait until your cluster is done, then click Connect > Connect your application and copy the link. Replace
myFirstDatabasewith the name of your database (e.g.bookstore).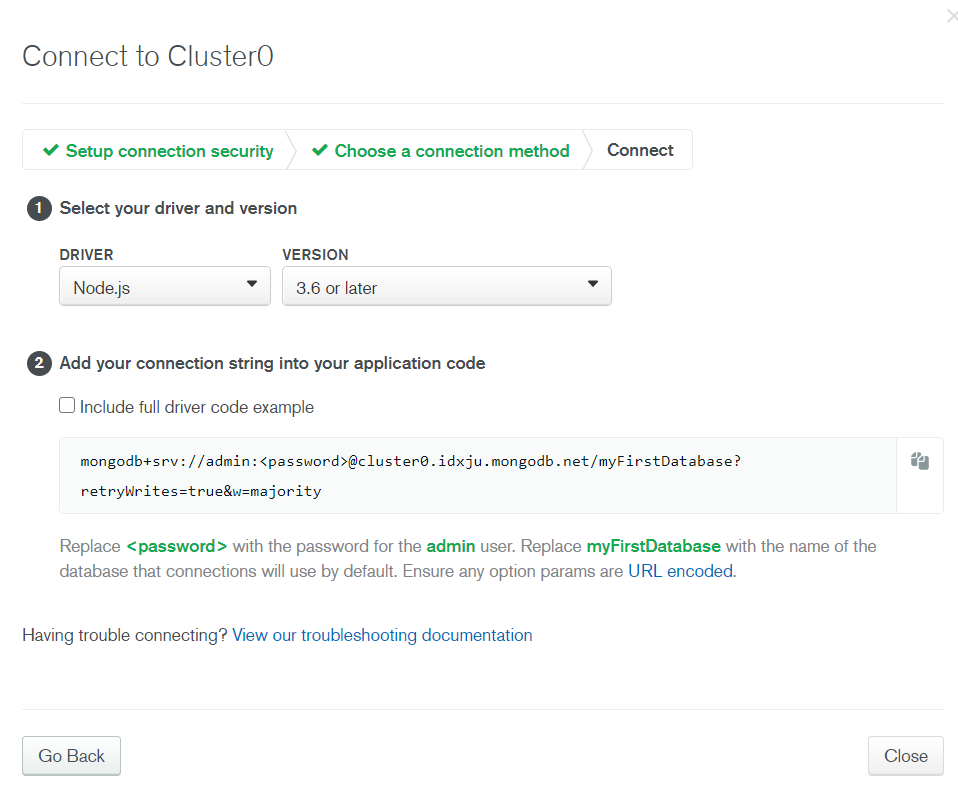
Add this URI to your Heroku config vars. Don't forget to add your Heroku app link to your Netlify variables as well. Now your app should work with the frontend hosted on Netlify, backend on Heroku and database on MongoDB Atlas!