How to structure webpages using Hyper Text Markup Language(HTML).
What You'll Learn
- HTML Structure.
- HTML elements and attributes.
- Inline vs Inline-Block vs Block elements.
- Semantic elements.
- CSS rules, selectors, declaration, properties, values.
- Box Model.
- Padding & Margin
- CSS important concepts: inheritance, cascade, and specificity.
- GitLens
Slides
Videos
You'll be in groups. Each team has 3-4 questions to answer. They've very open-ended questions that will require you to flex your Google + StackOverflow muscles. Since this is our first discussion section, we'll allocate a little more time to getting used to this flow (in future sessions, we'll only spend about 30 minutes here, but today we'll spend the rest of the morning).
The teachers will bounce from group to group to help moderate discussion, and after some time we'll ask someone from each group to present, using the "present" feature on Toucan. For simplicity, we'll ask each group to nominate just one person to screen share / present. But since we're going to do this every day, we literally have almost a hundred more of these sessions - everyone will get a chance to practice / present a lot.
Group A
We introduced markdown in class, but didn't really go over it in detail. (This document is written in markdown.)
- What is Markdown, and why is it called Markdown?
- What are some common use cases for Markdown?
- Walk us through some common Markdown syntax. (Headings, bold text, italic text, lists, code blocks, and tables). You might use a resource like https://www.markdowntutorial.com/.
- What are the best ways to edit Markdown in Visual Studio Code?
Group B
Yesterday we introduced GitHub as a way to store files. However, there's a LOT of stuff built into GitHub that make it better than just some file server.
- Show some "trending" repositories via https://github.com/trending.
- You can "star" repositories, and it's often a measure of how popular a repository is. Share some information about the "most starred" repositories (available at https://gitmostwanted.com/top/stars/)
- What is/are "GitHub Actions"?
Group C
We talked yesterday a bit about common web apps, and frontends vs backends. We'll learn JavaScript with React and NodeJS in this course, but there are a lot of other options out there.
- What are other popular languages used in web programming?
- What are some other popular frameworks for web programming? (hint: use Google)
- What is the difference between a "framework" and a "language"?
- What is jQuery?
Group D
We spent quite a bit of time with Visual Studio Code! You'll learn to live inside Visual Studio Code. We suggested some extensions yesterday.
- Go over each extension from our page yesterday, explain what it does and why it's useful.
- Try to find a few more extensions that could be useful.
- Investigate Visual Studio Live Share, and give a quick demo to the class.
Follow this link to get your first exercise.
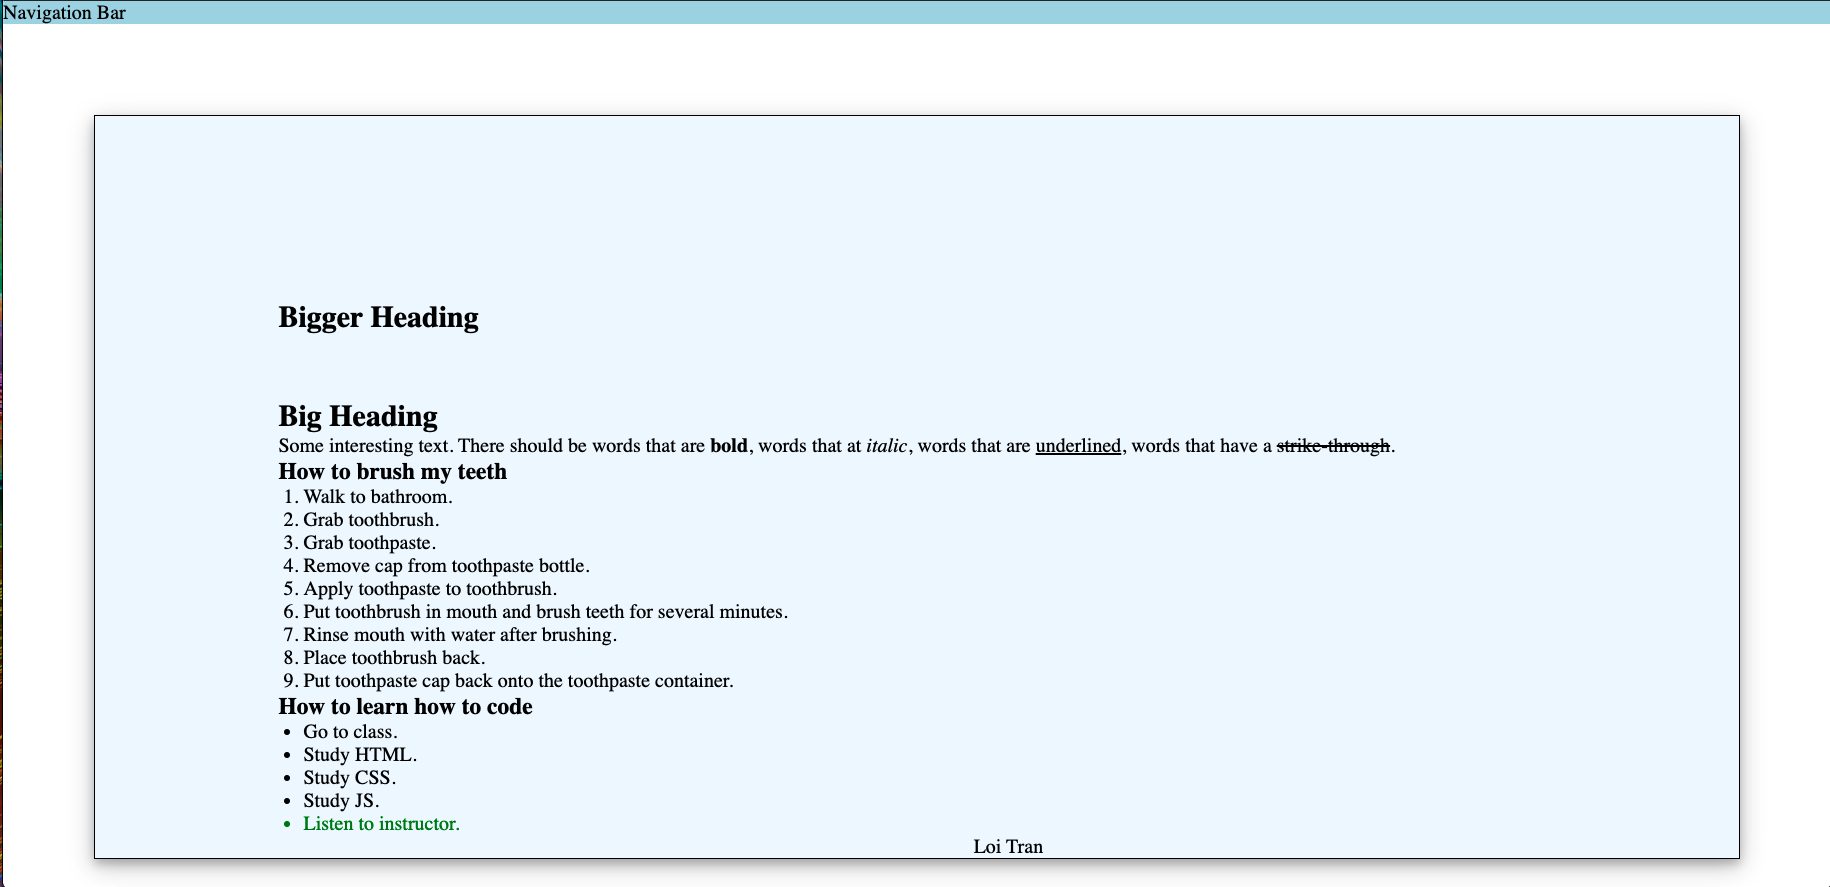
Use html's tags, attributes, & css's, selectors & key value pairs to style the page.
- Make the navigation bar the full width of the page
- Make the bigger header bigger than the one below it.
- Make the big header smaller than the one above it.
- Make the interesting text interesting. Make some of it bold, italic, underlined, and strike-through.
- Make the text above the brushing teeth steps a small heading.
- Make the steps on brushing your teeth an ordered list.
- Make the heading about learning how to code a small heading.
- Make the steps on how to learn how to code an unordered list.
- Make the navigation bar hug the sides of the screen.
- Make the content of the page evenly spaced from the center.
- Put your name at the bottom of the content centered.
- Make your content have a background and border.
- Make your content sit directly on the left of it's section.
- Make your content side directly on the right of it's section.
- Make the Bigger Heading move further up away from the big heading.
- Make the text "Listen to instructor" green.
- Make your section of content have a slight shadow.
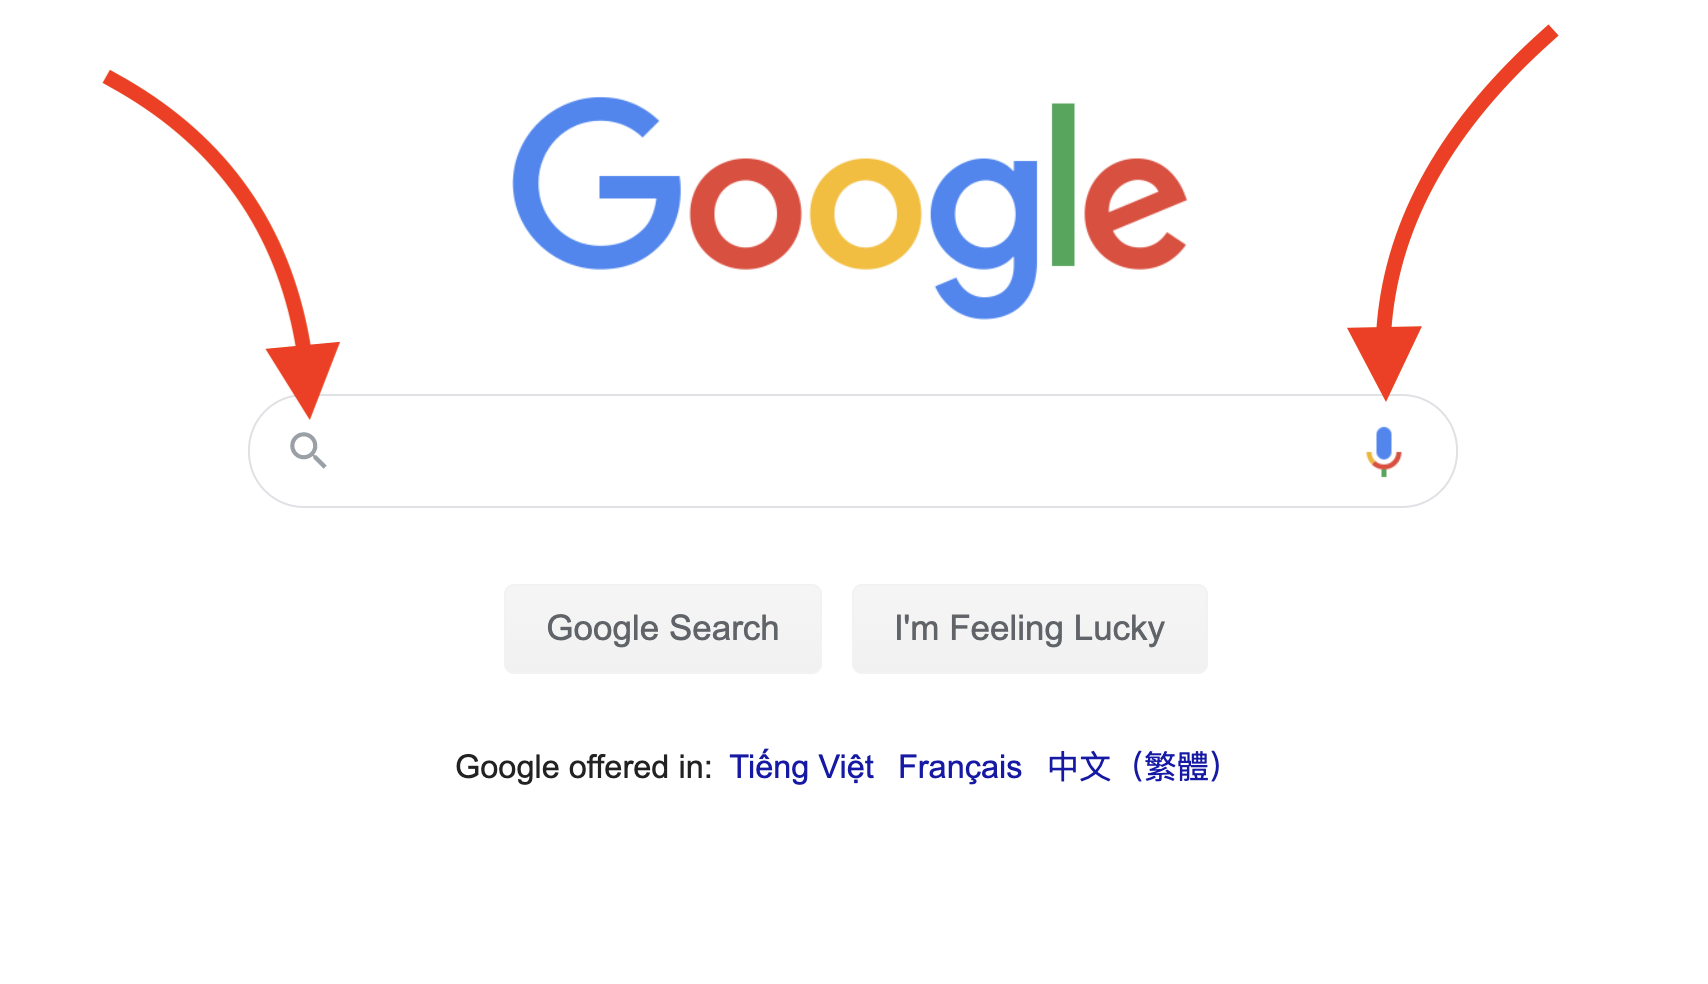
Your project should eventually look like this
Introduction 🌟
Today we're building Google's homepage.

By completing this assignment we'll learn how to layout/place elements on our webpages. Elements being the result of HTML.
Elements are anything on the screen that users are accustomed to seeing and can include navigation bars, logos, text, links, images and footers; the sky is the limit.
We'll also use CSS to style our elements beautifully.
Required Features 🎯
- [ ] User sees a navigation bar.
- [ ] User sees links in their navigation bar.
- [ ] User sees Google logo centered on the screen both horizontally & vertically.
- [ ] User sees the cursor change when they hover it over the Google Logo.
- [ ] User sees an input which allows them to enter information.
- [ ] User sees the input have a shadow when they hover it.
- [ ] User sees two buttons which have the same text as Google's.
- [ ] User sees that the input is focused when the page first loads.
Tip 💡: Use VSCode while in class so instructors can more quickly help you.
Demo
All applications we build will live inside their own folder.
This folder will eventually hold it's own children folders & files.
For now, this folder will only contain HTML & CSS; but many different files will soon join them.
A) Create a new folder on your local machine.
The author is naming this folder s-google. This folder will hold all our projects files as root, also known as .
You can call it anything you like. I'm going to call mine google-landing.
B) Create two new files in the folder called index.html and style.css.
The files index.html & style.css have to be named exactly that.
.
├── style.css
├── index.html
Tip 💡: Your folder should look exactly like this now. Our two files live inside of root.
C) Setup first basic HTML file.
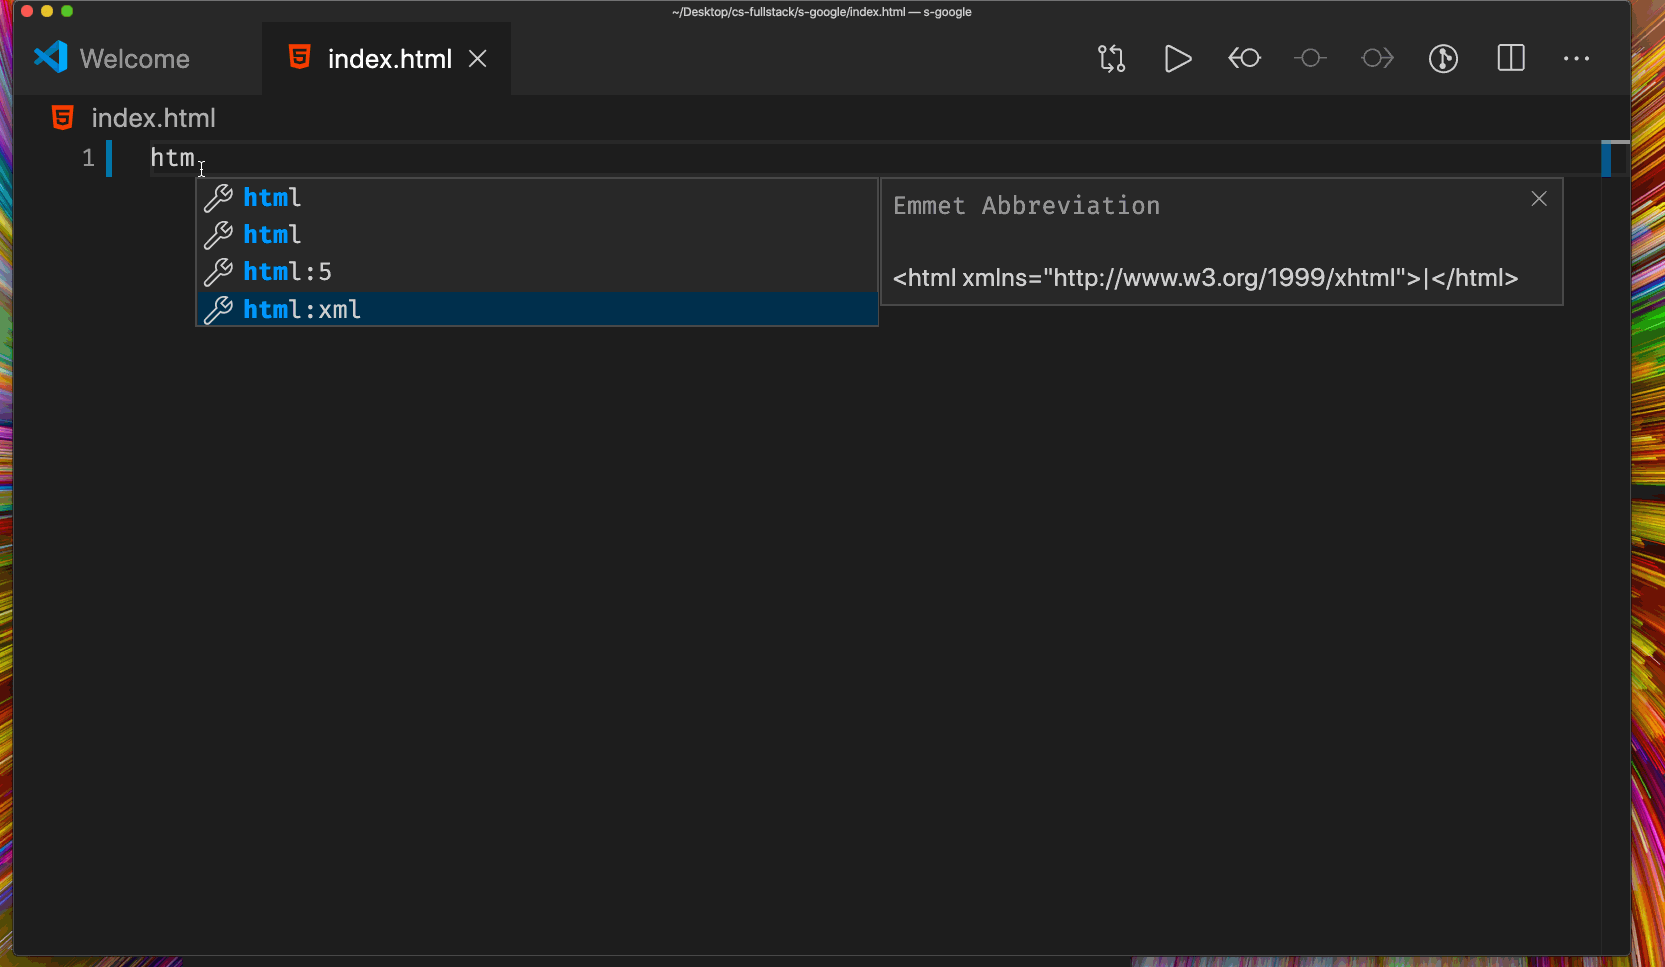
Type HTML5 into the index.html file to use a VSCode shortcut.
The shortcut will produce some boilerplate HTML which every webpage in the world requires. This is the simplest webpage you can build. It contains two primary parts:
- The
headtags are used for telling the browser information about the page; metadata. - The
bodytags will contain all the User Interface(U.I.) elements of our webpage.
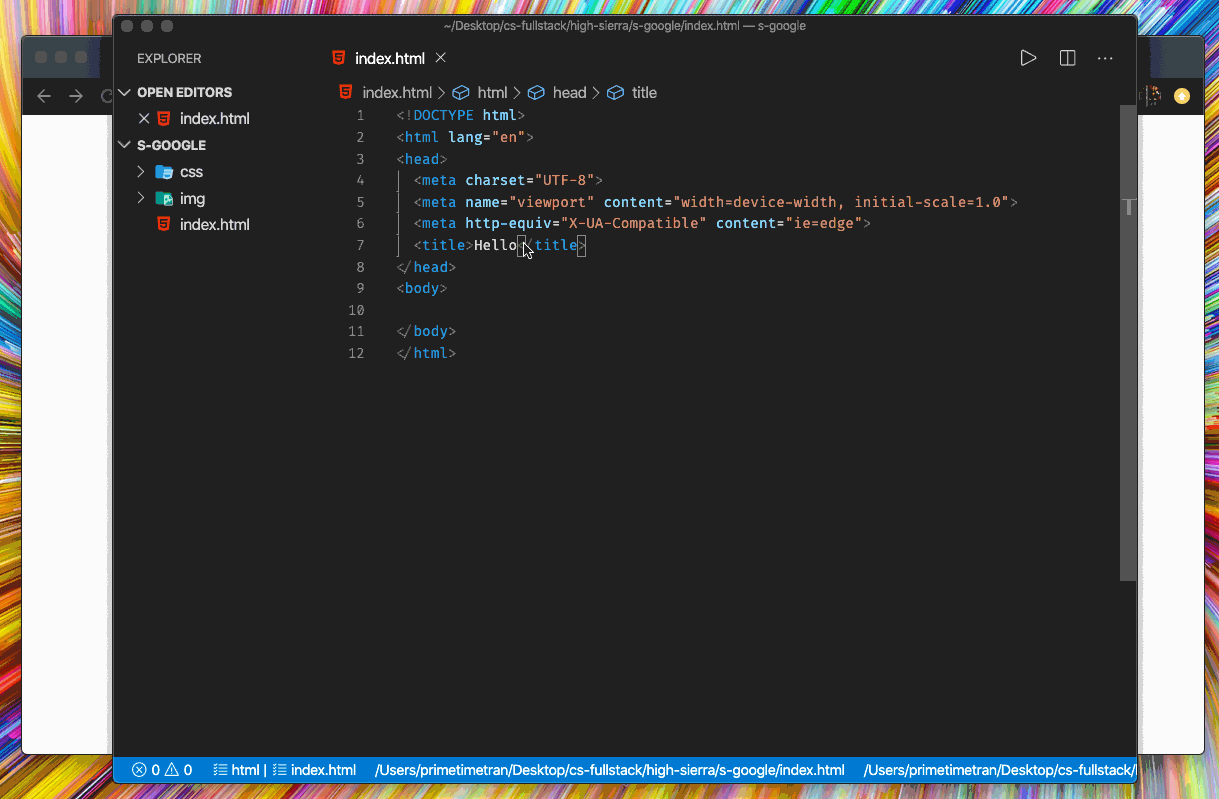
D) Change the title of the site in the browsers tab.
- Replace the content of the
titletag which was included in the boilerplate code.
<title>Google</title>
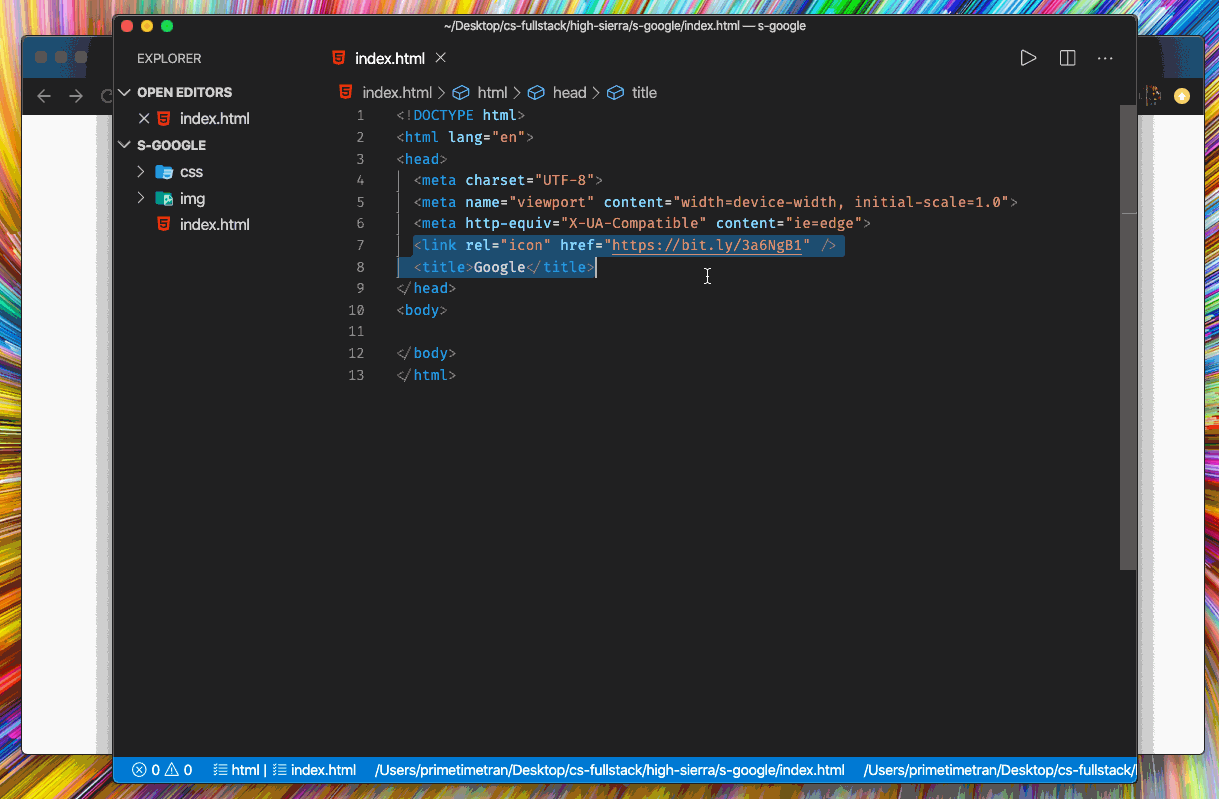
E) Customize the icon in the browser's tab.
This link tag to the head we can customize the site's icon.
<link rel="icon" href="https://bit.ly/3a6NgB1" />
- It requires a
relattribute. - It requires a
hrefattribute. - It must be placed in the
head.
F) Download the VSCode Live Server and run it.
It should open up a new tab on your browser with http://127.0.0.1:5500/index.html as the url.
You should also see that the site identity icon has changed from Chrome's default; excellent.
Key Points 🔑
- A website/project is a collection of files/folders that work together.
- Our
index.htmlconsists of two important parts,headandbodytags. - The
headtag is used to define metadata. We can change the title and icon inside of it. - Live Server will look for a file called
index.htmlin our project.
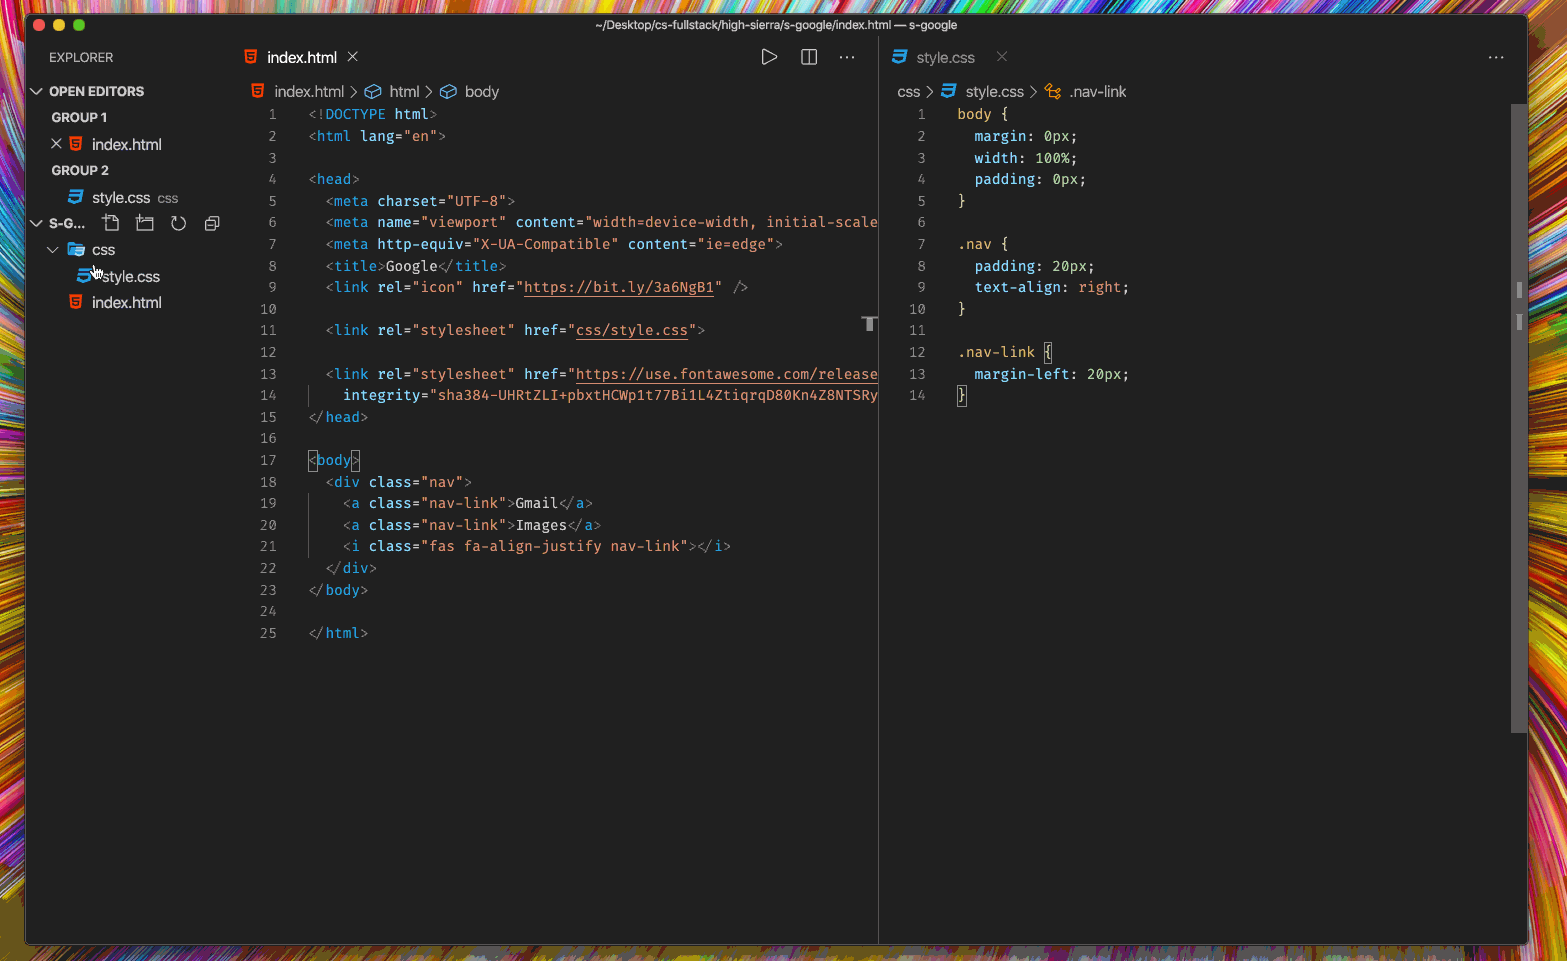
A) Implement the navigation bar.
Below the opening body tag, copy and paste this code in.
<div class="nav">
  <a class="nav-link">Gmail</a>
  <a class="nav-link">Images</a>
  <i class="fas fa-align-justify nav-link"></i>
</div>
We've got a div tag which holds 3 children, 2 a and 1 i tags.
If you open the browser you shouldn't be able to see the icon though.
The reason this is is because we haven't yet imported the FontAwesome library; a library which helps us to add beautiful icons to our webpages quickly and easily.
B) Import Font Awesome.
You shouldn't be able to see the icon now. Fix it by adding a link tag as a child of the head tag.
This code imports Font Awesome from a Content Delivery Network(CDN) for use in our project.
<link
  rel="stylesheet"
  crossorigin="anonymous"
  href="https://use.fontawesome.com/releases/v5.6.3/css/all.css"
  integrity="sha384-UHRtZLI+pbxtHCWp1t77Bi1L4ZtiqrqD80Kn4Z8NTSRyMA2Fd33n5dQ8lWUE00s/"
/>
C) Place navbar links in the top right hand corner of the screen.
Copy and paste this code into style.css. Here were using CSS to give the elements some reasonable spacing.
body {
  margin: 0px;
  width: 100%;
  padding: 0px;
}

.nav {
  padding: 20px;
  text-align: right;
}

.nav-link {
  margin-left: 20px;
}
D) Create a new folder in your current working directory by the name of css and move style.css into it.
We're "siloing" our code so it's easier to maintain.
We should now see that the links & icon is where we expect them to be, in the top right corner of the screen.
Key Points 🔑
- We can nest elements within one another.
- We can import libraries(and much more) in the
head> tags at the top of the.htmlfile. - CSS styles should be written in a different file.
- CSS can select an element. After we select an element to style, we apply the style by naming the attribute and it's value. In other words, key value pairs.
The main content which includes the logo, search input, and search buttons. We'll get it on the screen using a few new elements, section, img, input, and button to name a few.
A) Add primary content to screen.
Grab Google's logo here and add it to our project inside of a new folder named img.
Add the following code to the body tag below the navbar.
Notice the section tag. This is a semantic tag introduced in HTML5; there are many others which have specific use cases.
<section>
  <div class="main-content">
    <img src="img/logo.png" alt="Google" height="300" width="800" />
  </div>
  <br />
  <input autofocus />
  <br />
  <div class="button-container">
    <button>Google Search</button>
    <button>I'm feeling lucky</button>
  </div>
</section>
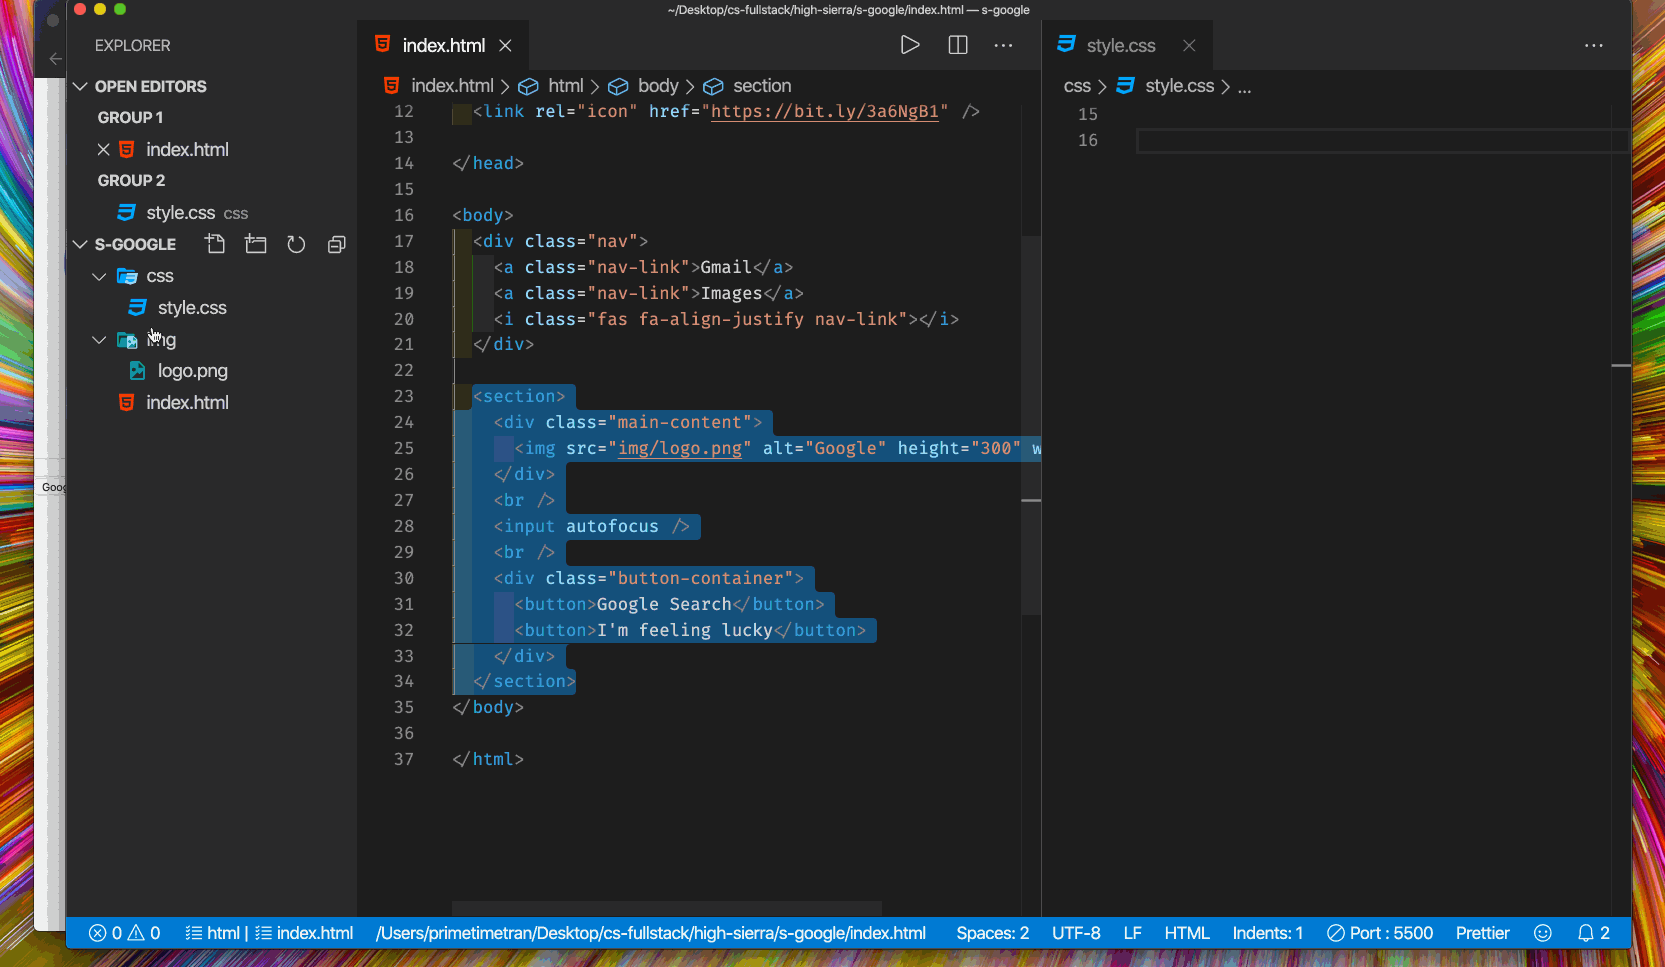
We should now see the image rendered to our screen; excellent.
However, we need to the content to sit in the center of the screen.
B) Center the image, input, and buttons on the screen.
Select the section tag and align it's text to the center.
section {
  margin-top: 10%;
  text-align: center;
}
C) Add polishing touches to main content.
Sometimes your technical is so good that they'll just give you some code to copy & paste in. Add these CSS styles to your style.css. It'll give us a ton of nice behavior for hover and what not.
You don't understand every line right now, you'll learn them all in time.
img {
  width: 400px;
  height: auto;
  cursor: pointer;
}

input {
  width: 600px;
  height: 45px;
  font-size: 20px;
  box-shadow: none;
  padding-left: 60px;
  margin-bottom: 25px;
  border-radius: 25px;
  border: 1px solid rgb(223, 223, 223);
}

input:focus {
  border: 1px solid white;
  outline: 0px solid white;
  box-shadow: 0px 1px 5px 1px rgb(223, 223, 223);
}

input:hover {
  border: 1px solid white;
  outline: 0px solid white;
  box-shadow: 0px 1px 5px 1px rgb(223, 223, 223);
}

.buttons {
  width: 100%;
  margin-top: 5px;
  box-align: left;
  display: inline-block;
}

button {
  margin: 5px;
  width: 200px;
  height: 40px;
  border: none;
  font-size: 14px;
  color: #5d5d5d;
  border-radius: 5px;
  background-color: #eeeeee;
}

button:hover {
  color: black;
  border: 0.5px solid #bfbfbf;
  box-shadow: 0px 0.5px 2px 1px rgb(223, 223, 223);
}

.mic {
  top: 5px;
  width: 24px;
  left: -50px;
  height: 24px;
  position: relative;
}

.search {
  top: 35px;
  right: 300px;
  position: relative;
}
We should now see that our logo, input, and buttons look beautifully styled now thanks to a combination of HTML & CSS, amazing.
Now we need to add the footer so users can find additional content they're looking for.
A) Add a footer after the section
<footer>
  <div><a href="#">Vietnam</a></div>
  <div class="second">
    <div class="left">
      <a href="#">Advertising</a>
      <a href="#">Business</a>
      <a href="#">About</a>
      <a href="#">How Search Works</a>
    </div>
    <div class="right">
      <a href="#">Privacy</a>
      <a href="#">Terms</a>
      <a href="#">Settings</a>
    </div>
  </div>
</footer>
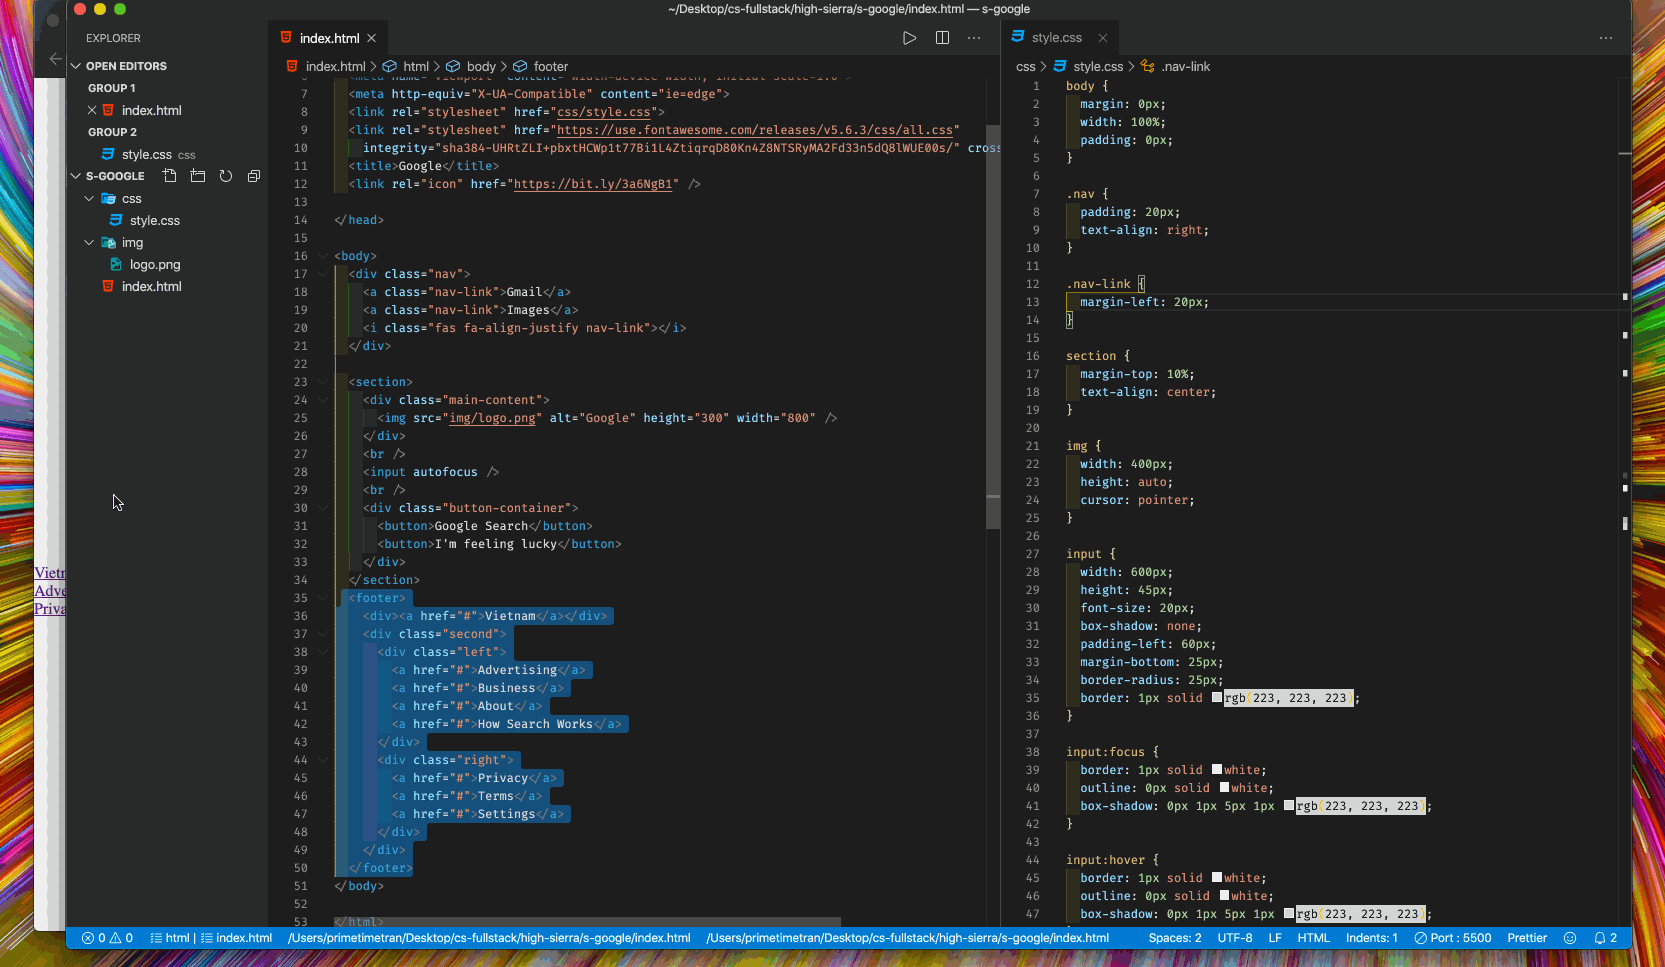
We should now see links after our main content; incredible.
B) Replace the code selecting the body in style.css.
html,
body {
  margin: 0px;
  height: 100%;
  display: flex;
  font-size: 13px;
  flex-direction: column;
}
C) Add this css to the bottom of style.css.
a {
  text-decoration: none;
}

a:hover {
  text-decoration: underline;
}

.languages-header > a {
  margin-left: 5px;
  margin-right: 5px;
  display: inline-block;
}

footer {
  margin-top: auto;
}

footer > div {
  padding: 15px;
  background-color: #f2f2f2;
  border-top: 1px solid #e4e4e4;
}

footer * a {
  margin-left: 25px;
  color: rgba(0, 0, 0, 0.54);
}

.second {
  display: flex;
}

.left {
  flex: 1;
}

.right {
  flex: 1;
  display: flex;
  justify-content: flex-end;
}

We should now see a beautiful footer; outstanding.
Review 🔑
- What is an HTML tag?
- What is an opening HTML tag?
- What is a closing HTML tag?
- How are opening & closing HTML tags different?
- What is an HTML attribute?
- What are some HTML elements?
- HTML & CSS should be stored in different files.
- There are many many different html elements.
- There are many different ways of selecting elements for styling.
If you're unsure of how the selectors above work watch this video. Flexbox is also used so you can read about it to prepare for tomorrow. Here's a cheat-sheet on Flexbox.
- [ ] Add icons to the search input like the real Google does.
- [ ] Add a search result page.
 In order to accomplish this rocket you'll need to do the following three things.
- Create a new file named
results.html - Add a new attribute to our
buttonelement. The value is a JS function<button onclick="viewResults()">Google Search</button> - Define a JS function named
viewResults(). In the body of the function. The function is a single unit of action. The unit of action is to direct the user to our page namedresults.html
function viewResults() { window.location.href = "results.html"; }- Apply knowledge of HTML to build the results page. –>
- Create a new file named
- Clone Google's search results page.